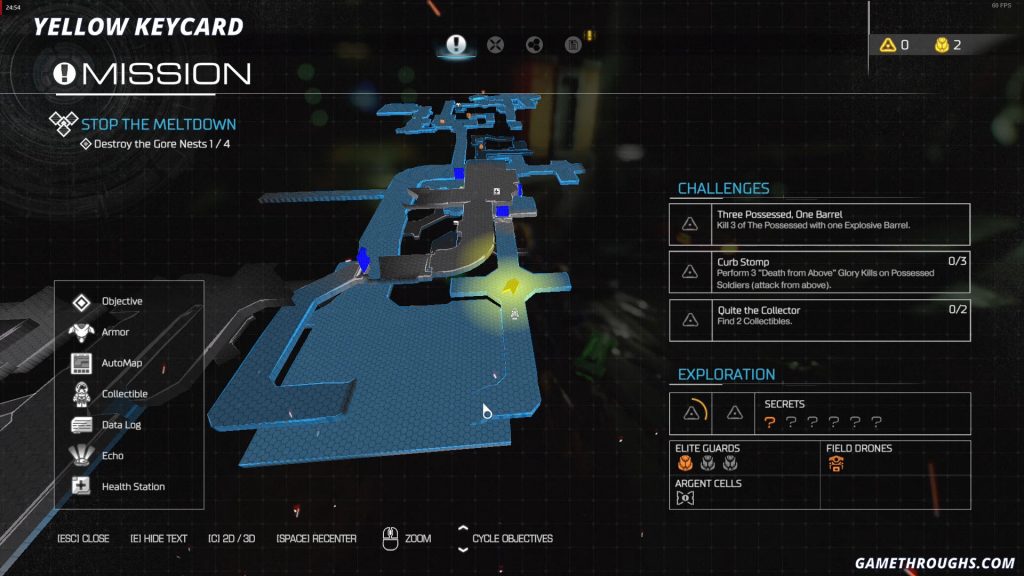
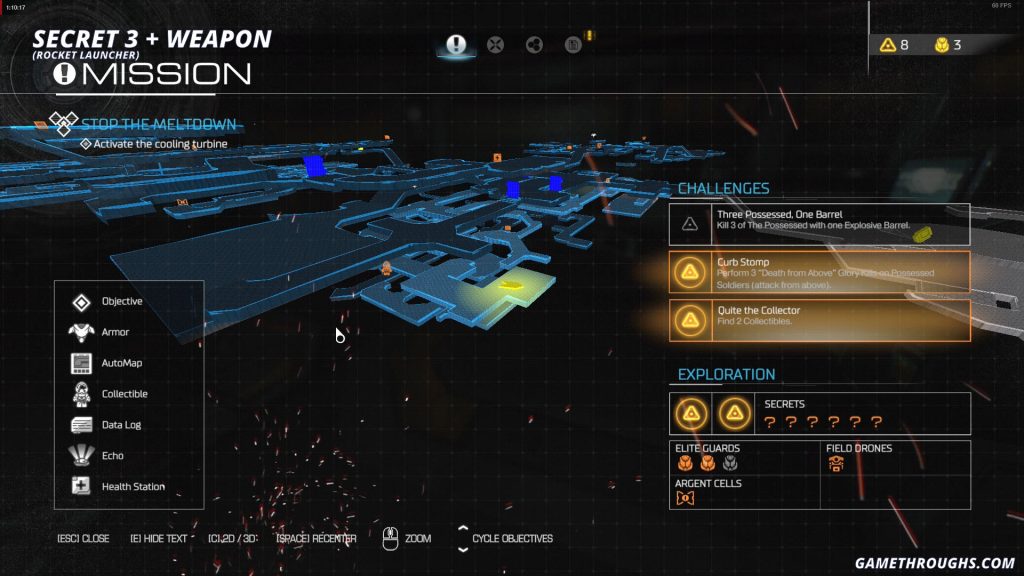
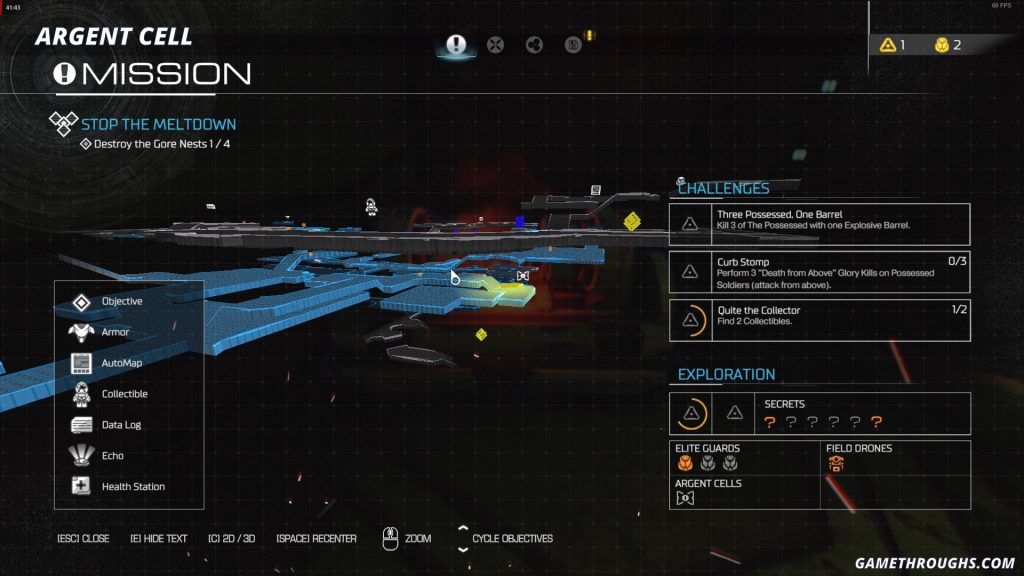
Foundry is the third level of DOOM (2016), with mission name Meltdown. Below you will find detailed description of all secrets, collectibles and items in Foundry level.
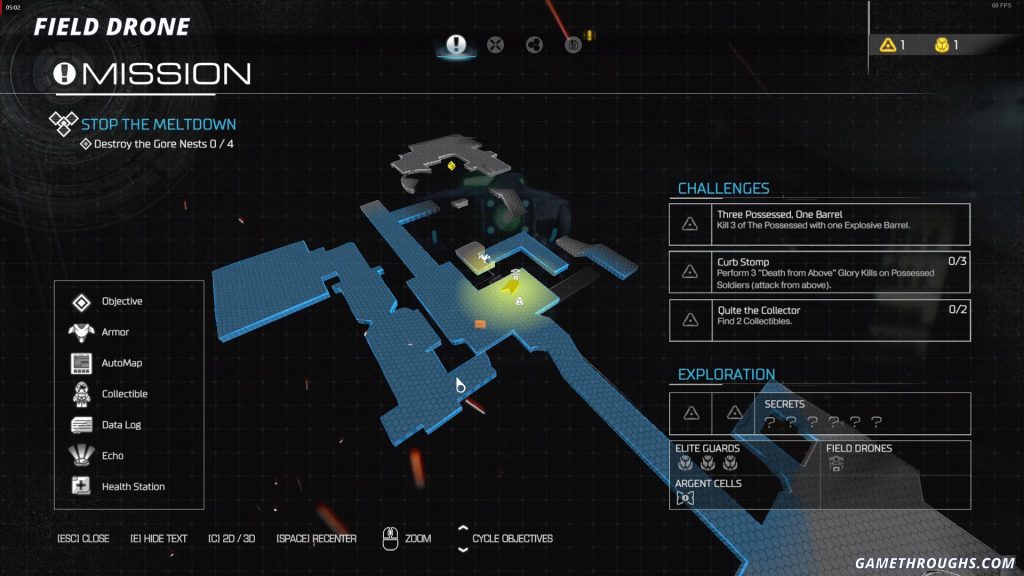
Following items and collectibles are available in Foundry level:
| Item | Amount |
| Argent cells | 1 |
| Field Drones | 1 |
| Data Logs | 3 |
| Marineguy Collectibles | 2 |
| Elite Guards | 3 |
| Secrets | 6 |
| Rune Trials | None |
| Classic Map | 1 |
| Challenges | 3 |
| New Weapons | 1 |
A video guide has also been provided, to actively aid you in your search.
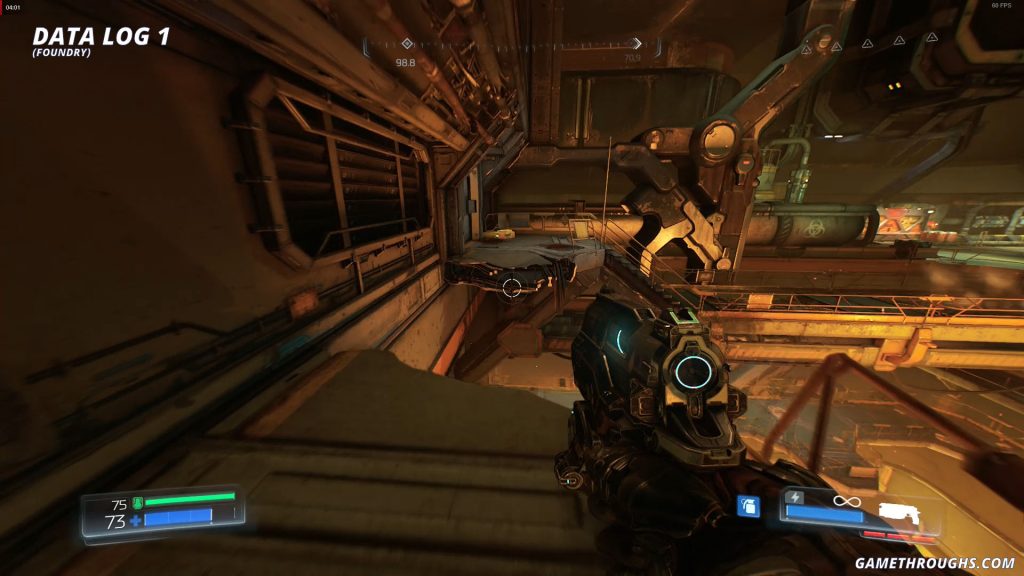
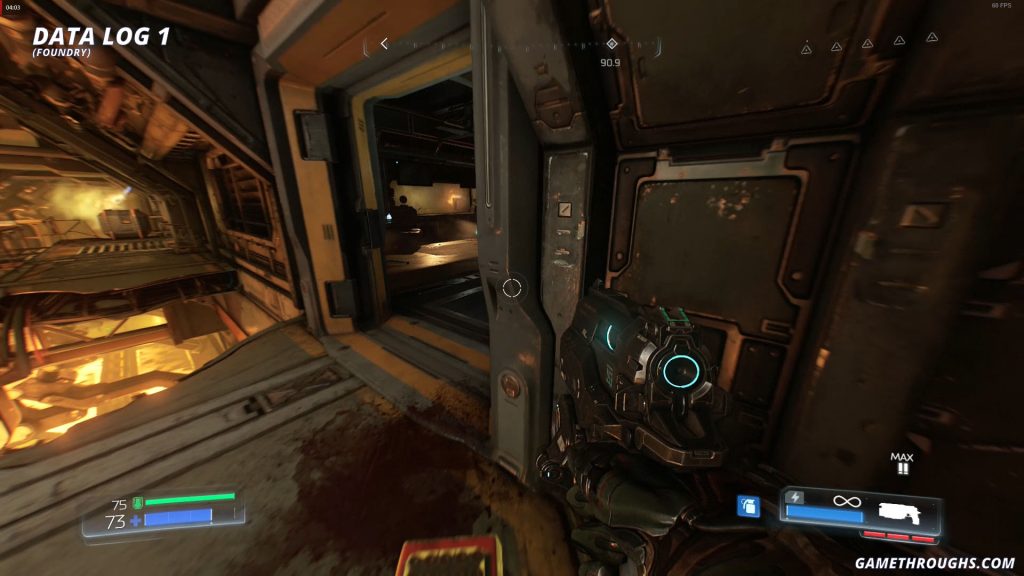
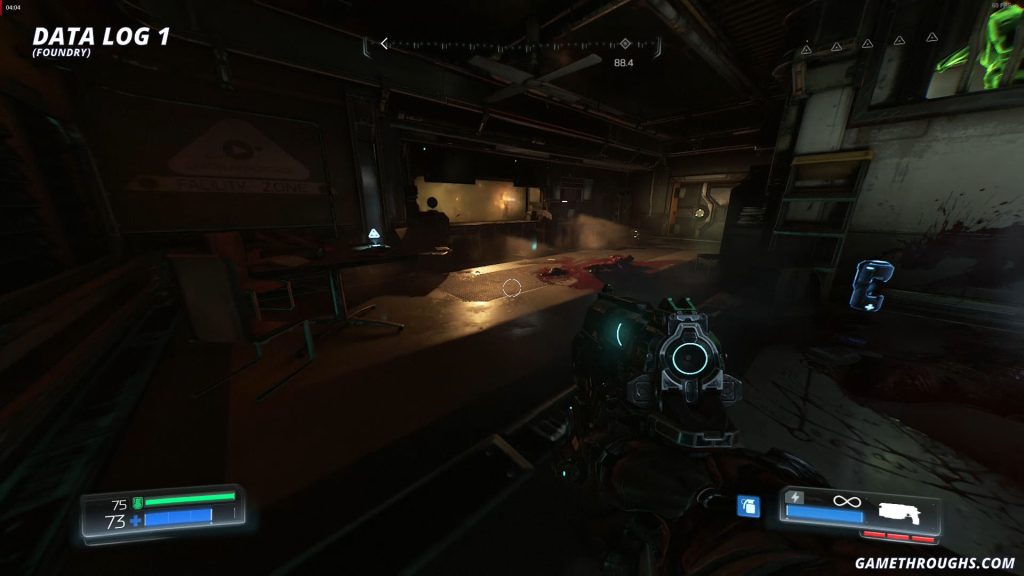
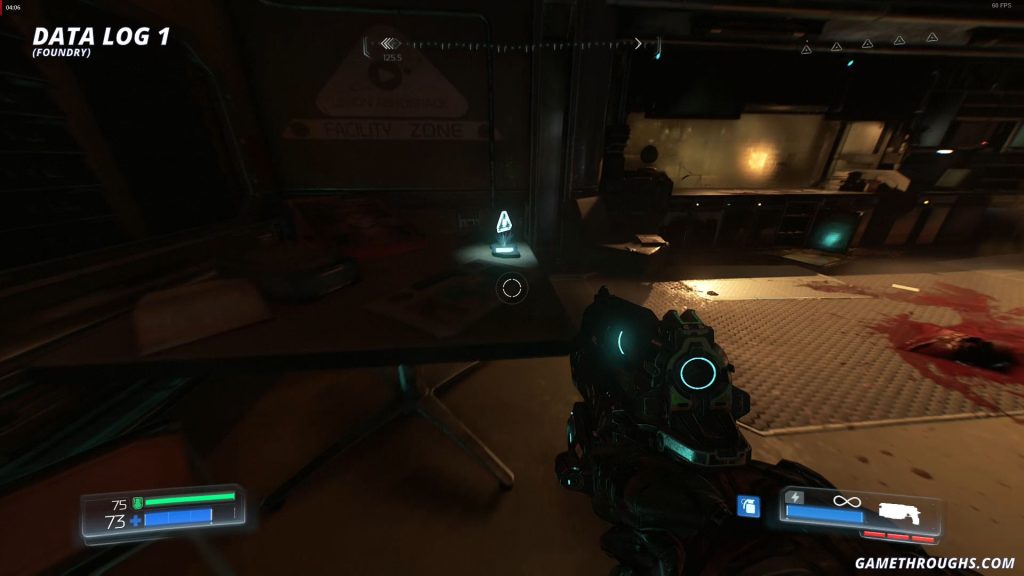
Data Log 1
(Foundry)
At the beginning of the level, when you reach the broken platform, jump across, then go through the door on the left. In the left corner of the room, a Data Log is located on the table.
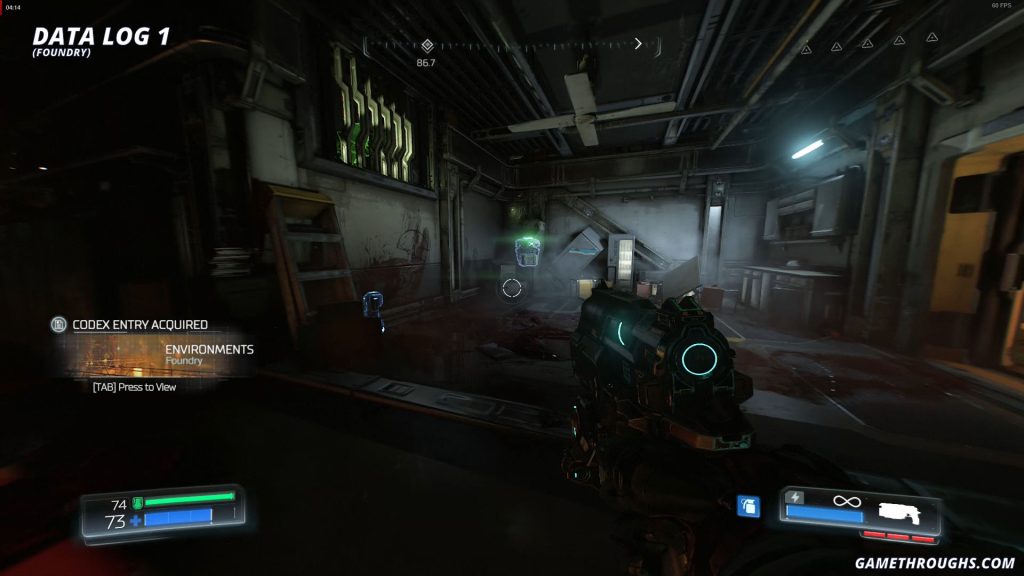
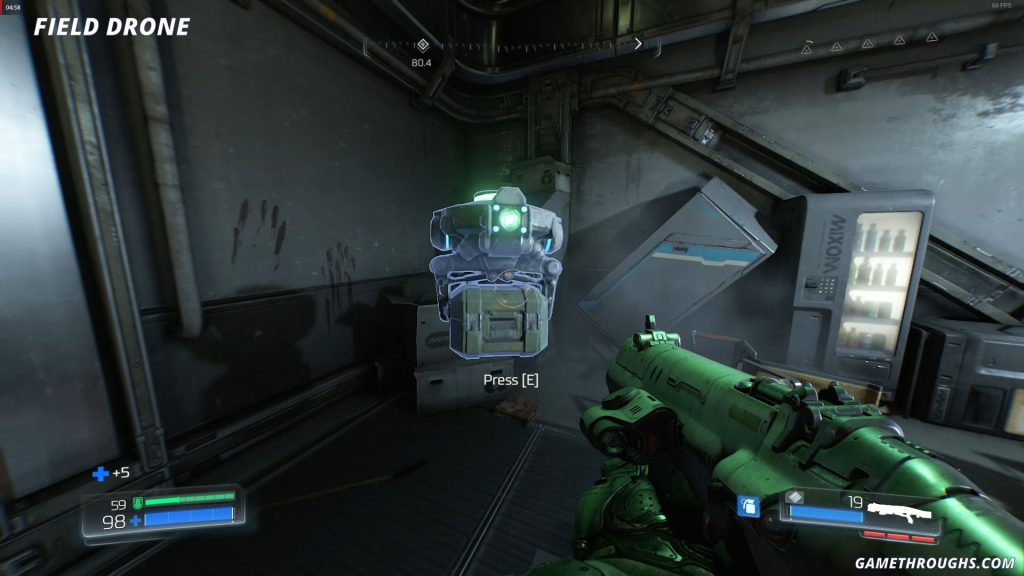
Field Drone
In the same room, but in the opposite corner, you’ll find a Field Drone.
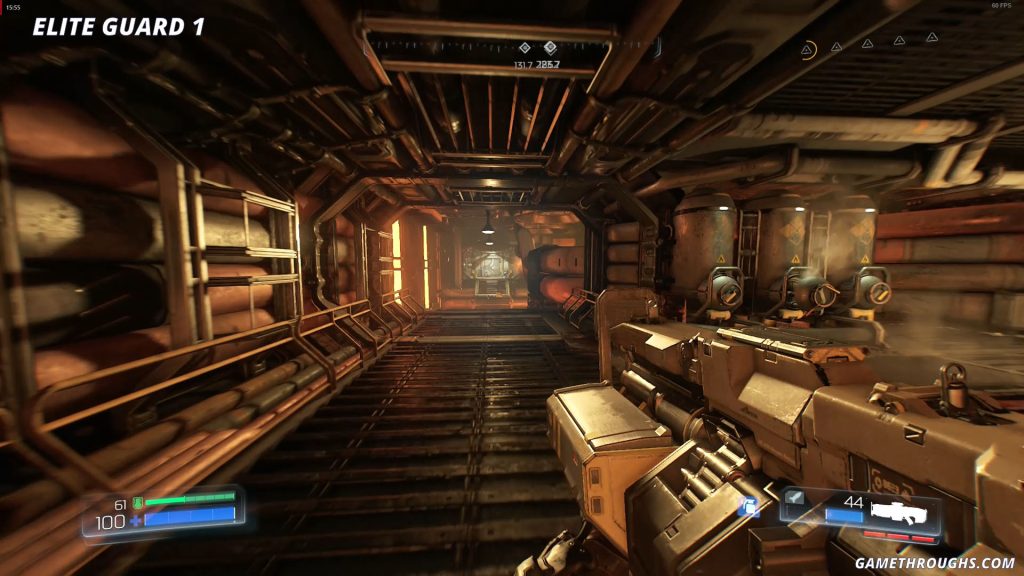
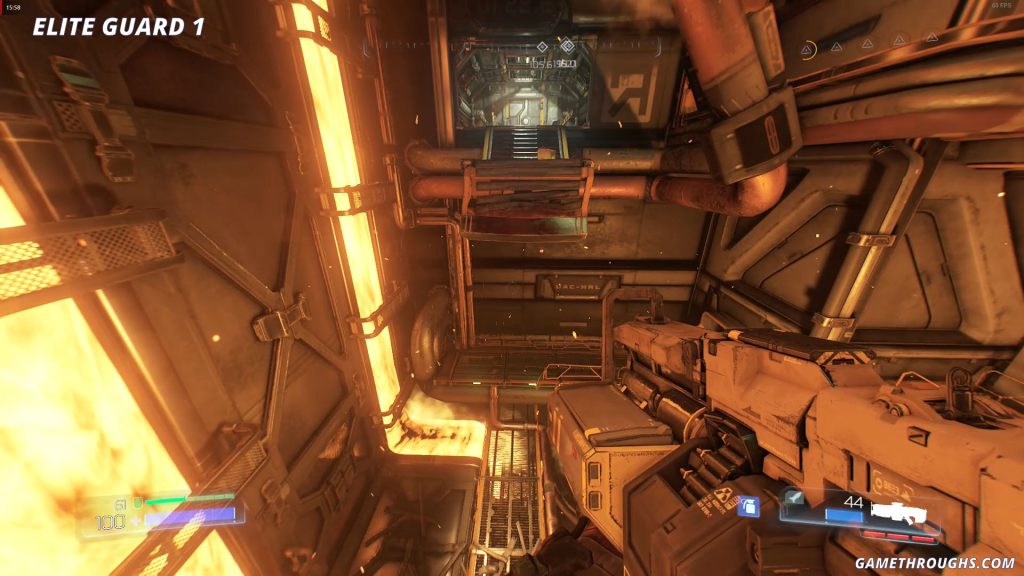
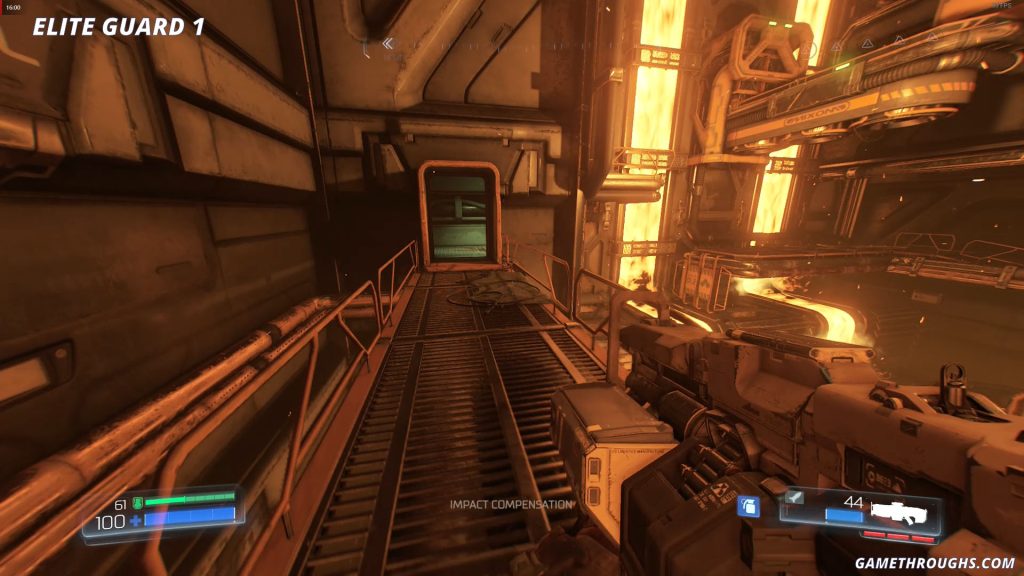
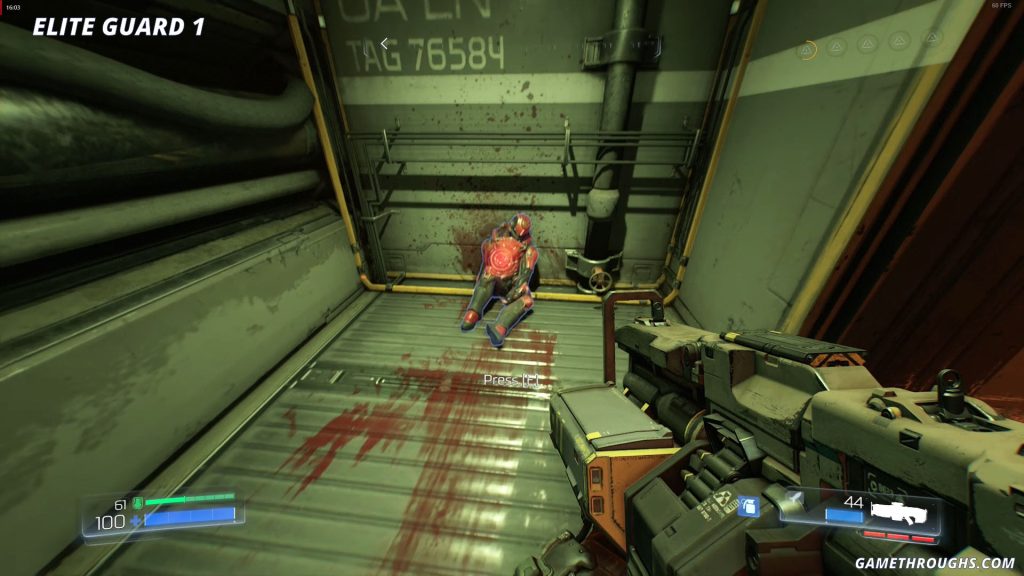
Elite Guard 1
At the other end of the room, there is a door leading to a long narrow hallway. Continue through the hallway, and in the next room on the right you’ll come across an area with flowing molten lava. Jump down to the platform across, then head right through the door. Inside the room, you’ll find an Elite Guard.

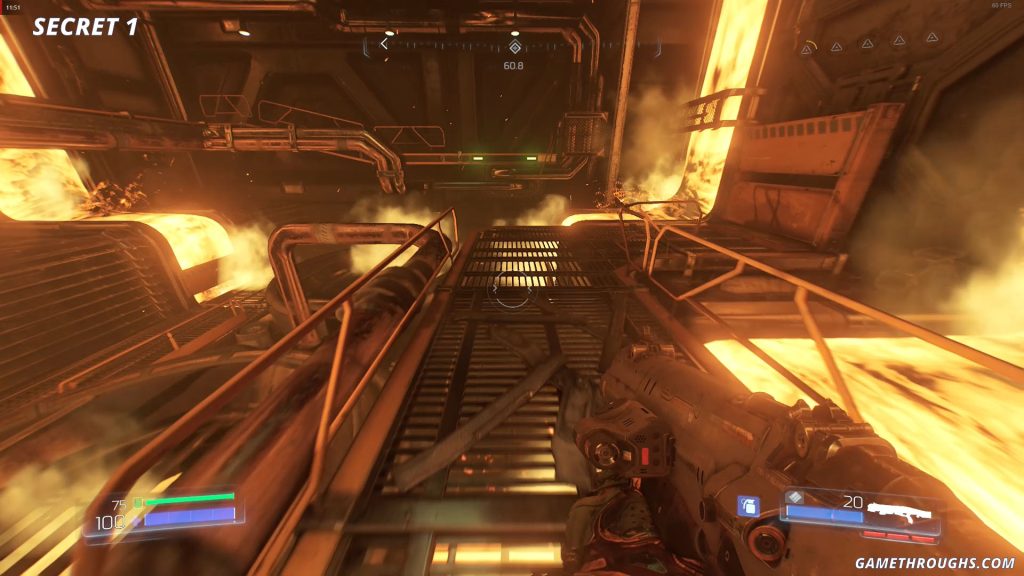
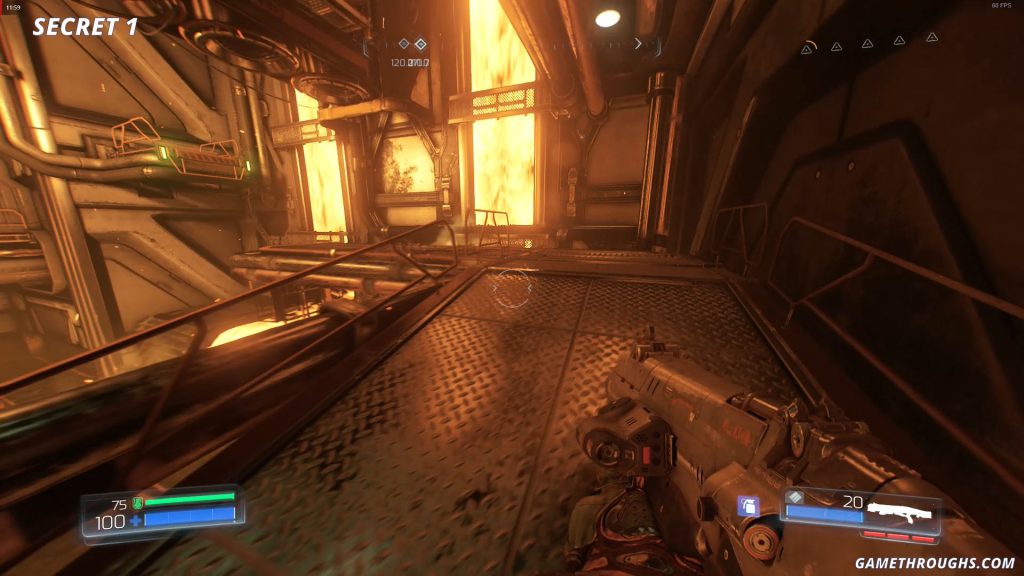
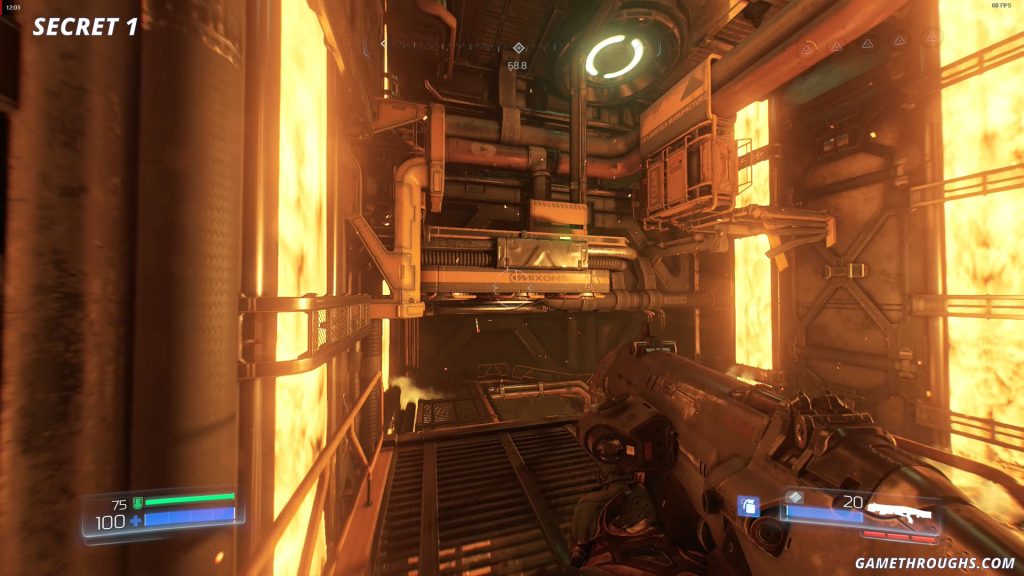
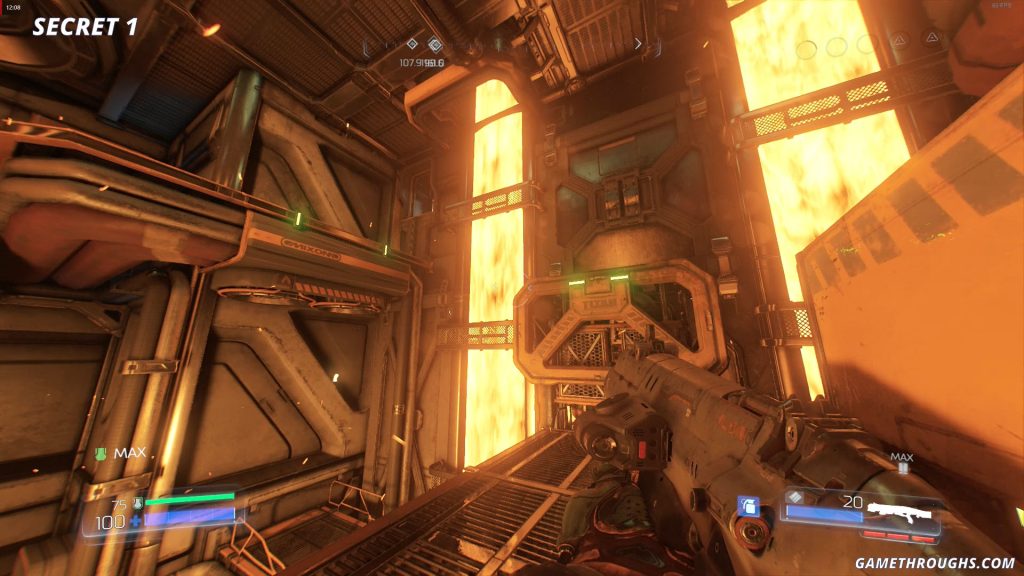
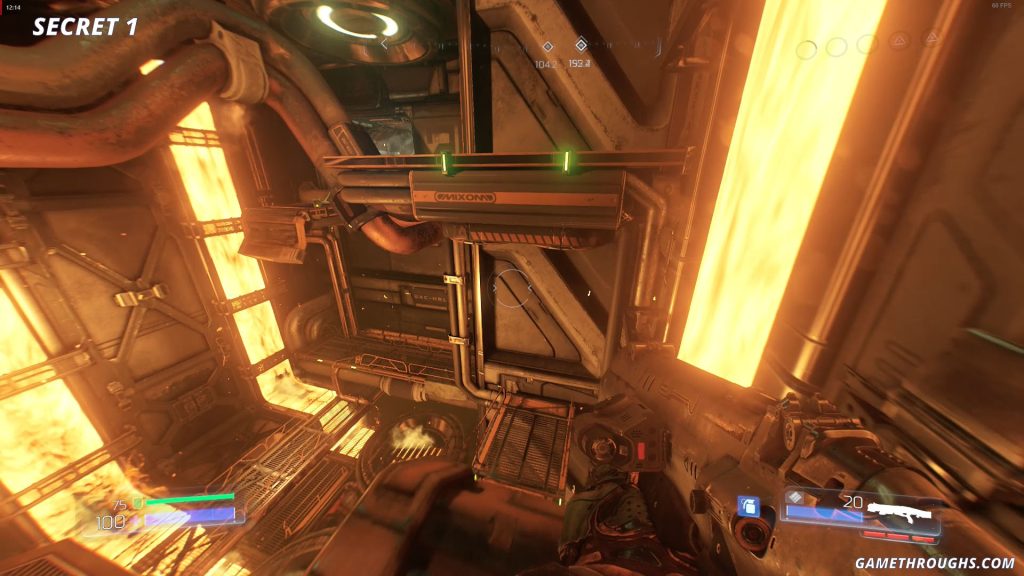
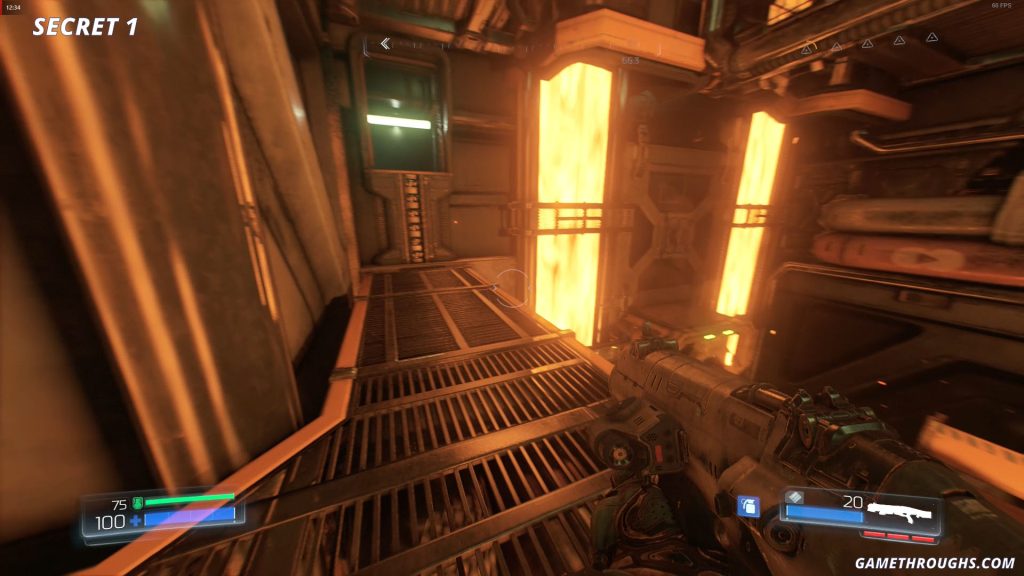
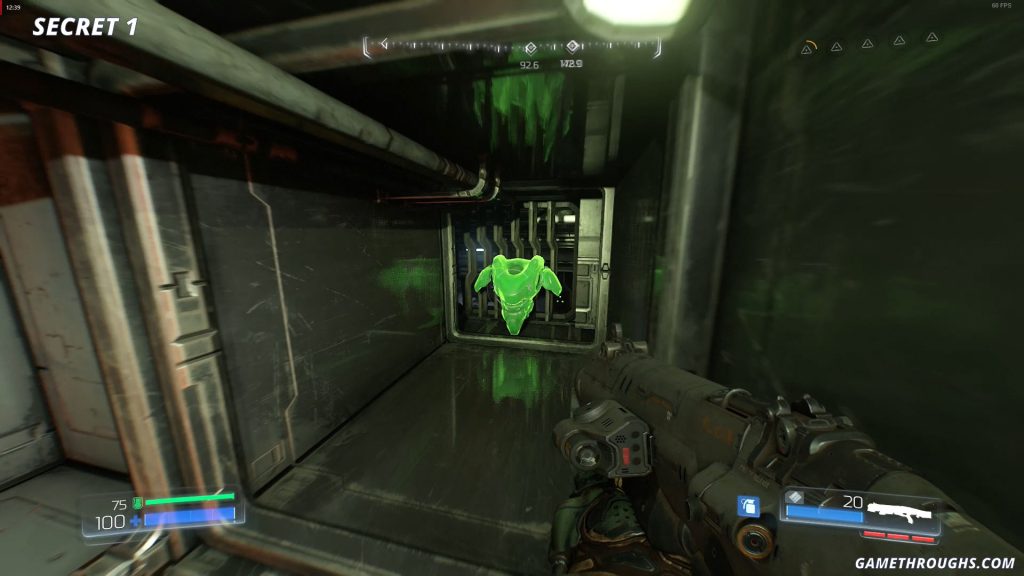
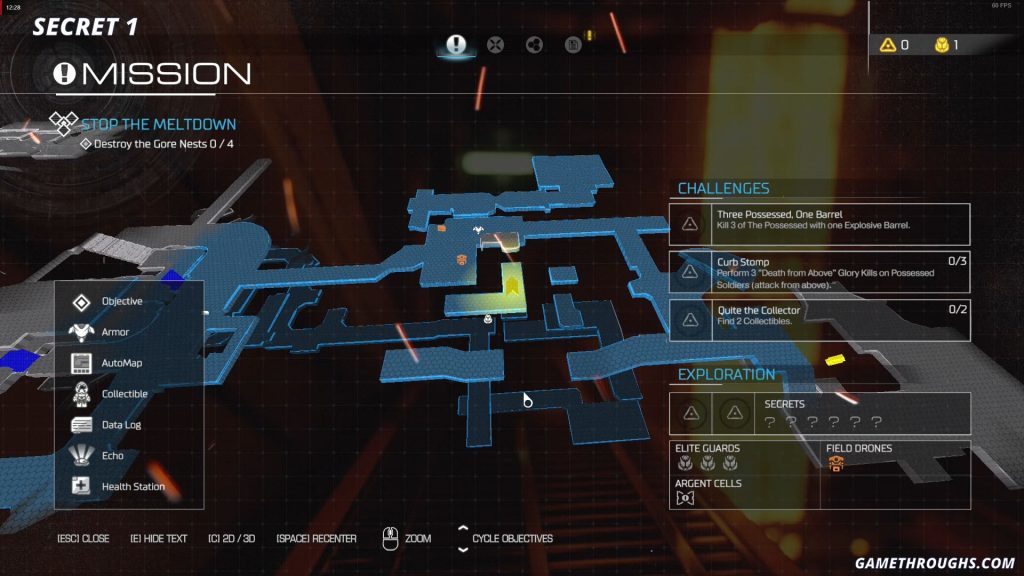
Secret 1
In the same room with the molten lava, across from the platform with the Elite Guard, there is a set of platforms where you jump from one to another to reach the top of the room. Near the top, there is a narrow ventilation shaft you can jump into, leading to a Secret with a Shield inside.
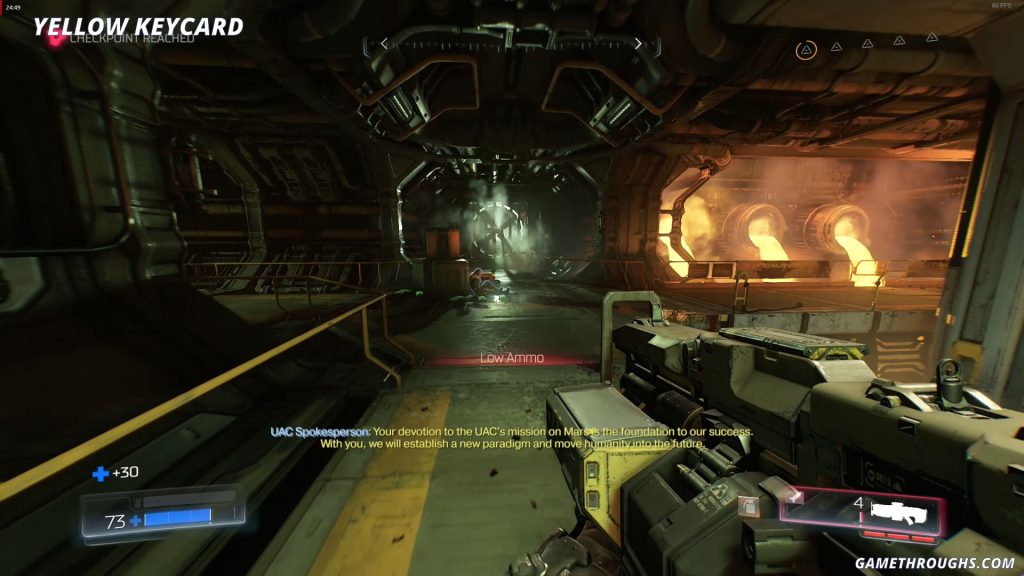
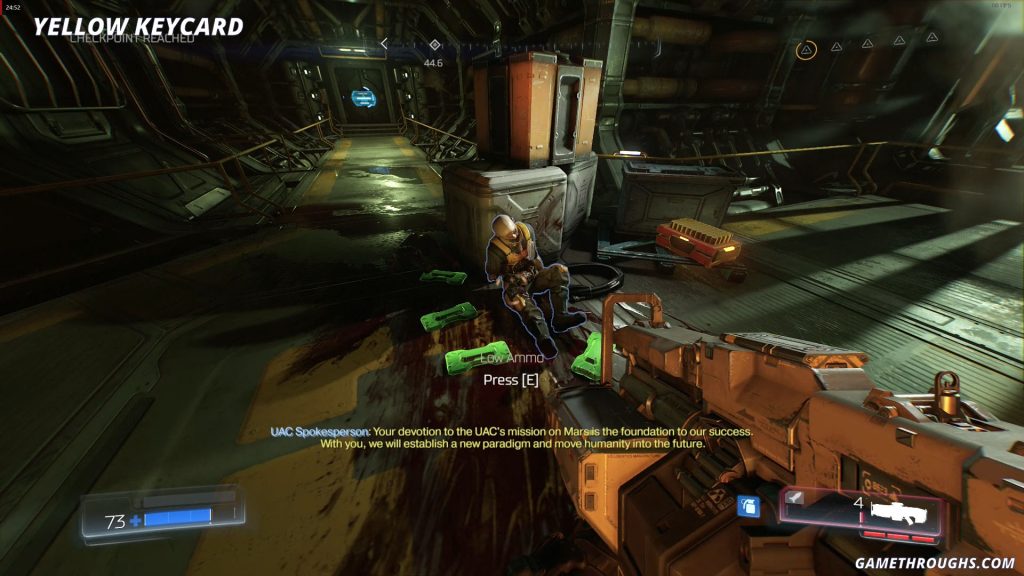
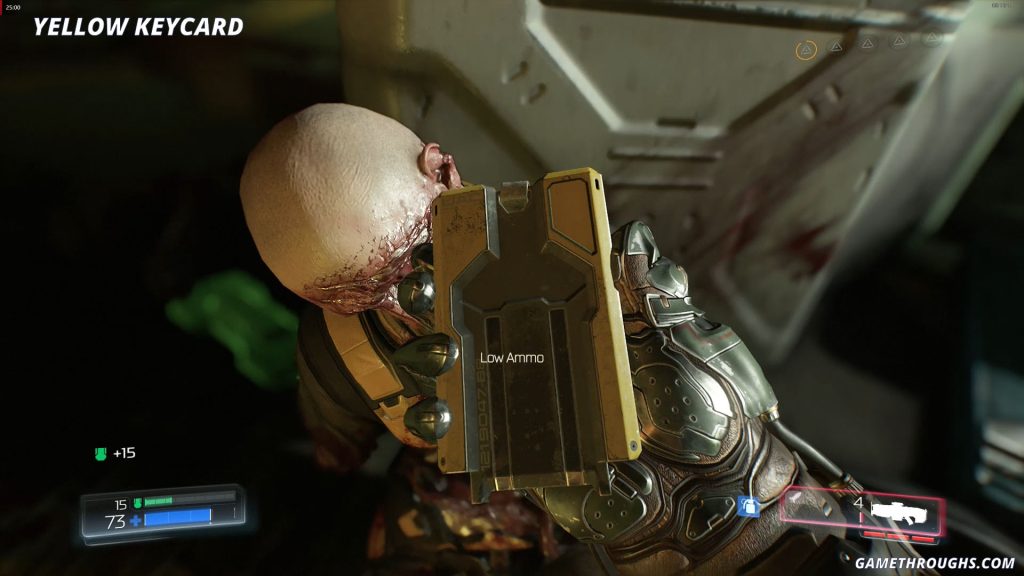
Yellow Keycard
When you head back to the central platform, continue straight across the bridge. Follow the path on the right and keep moving forward. After the big fight with demons, next to the pipes with flowing lava, leaning against some crates, you’ll find a soldier holding the Yellow Keycard.
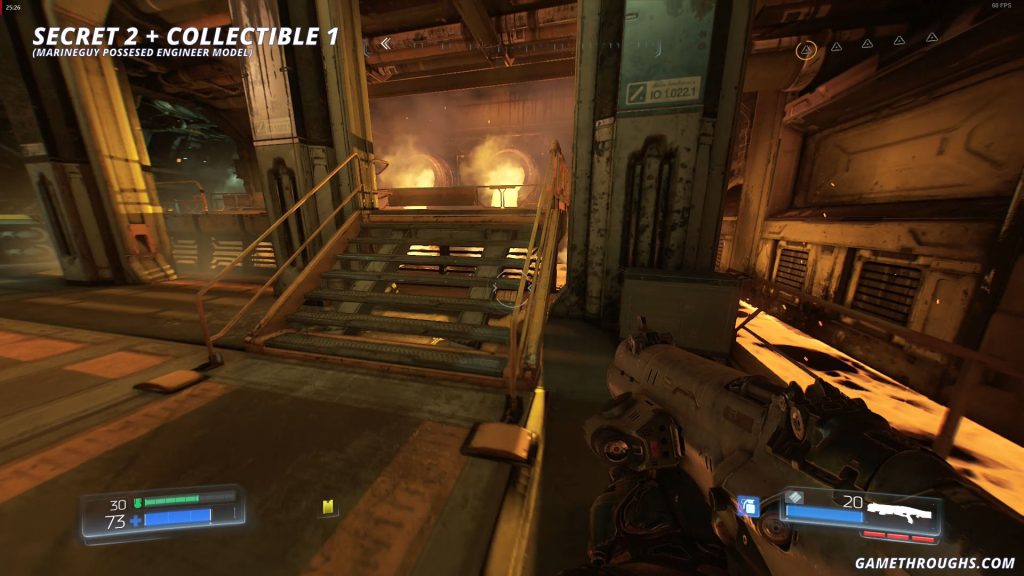
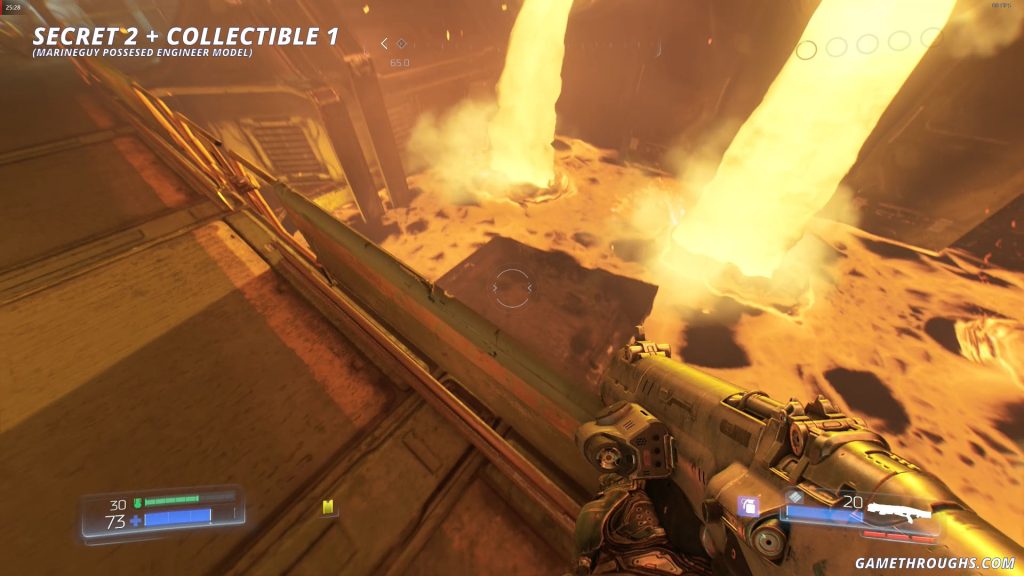
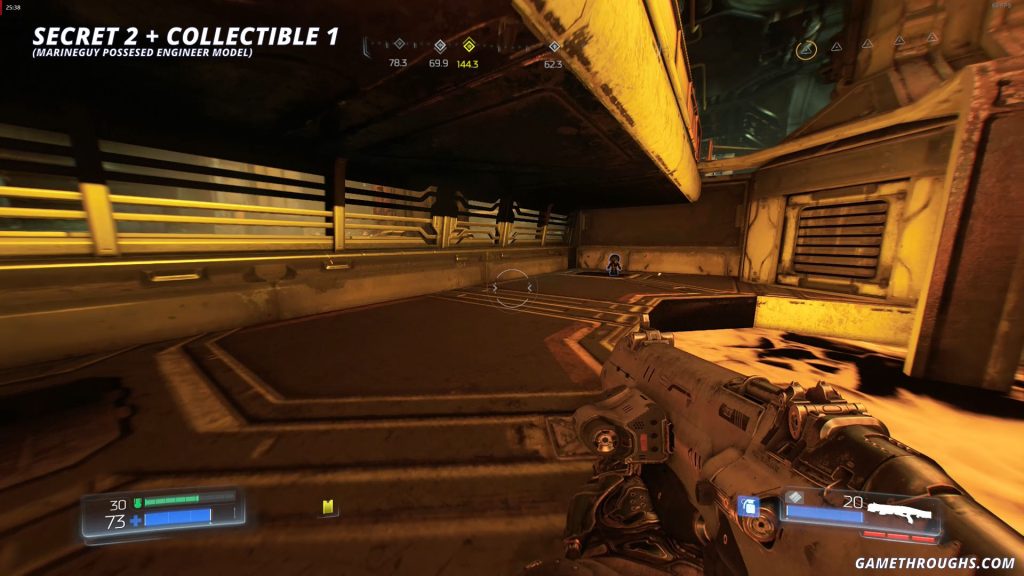
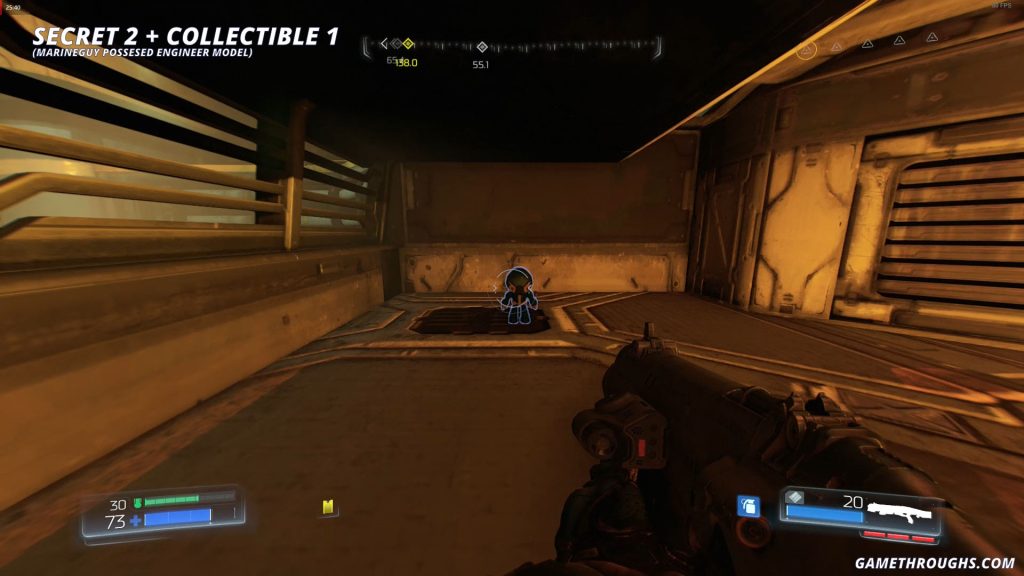
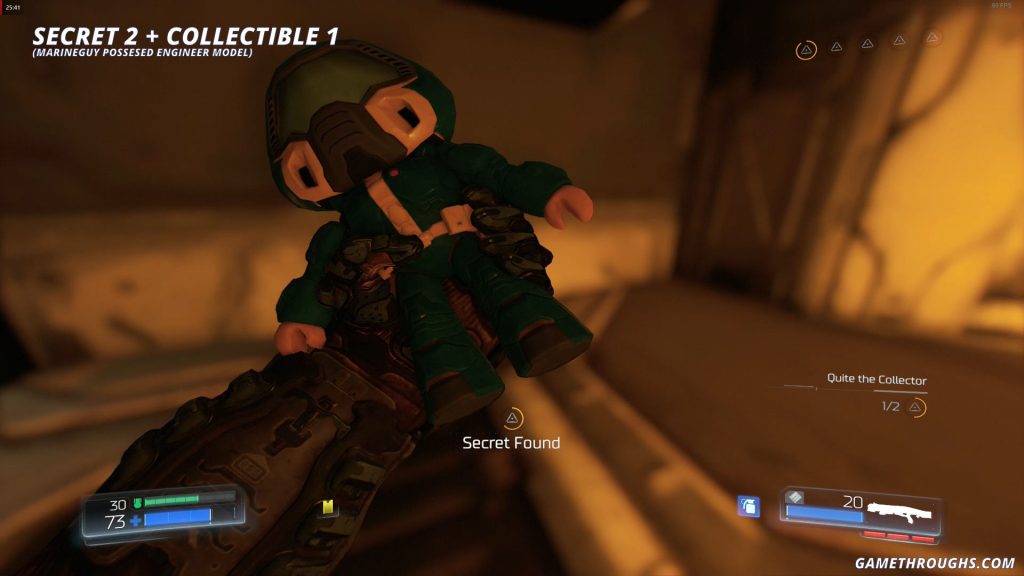
Secret 2 + Collectible 1
(Marineguy Possesses Engineer Model)
At the same platform where you found the soldier with the Yellow Keycard, right next to the pipes with flowing lava, approach the railing and look down. There is a lower platform you can jump onto, and in the right corner you’ll find a Marineguy collectible. This area is also marked as a Secret.
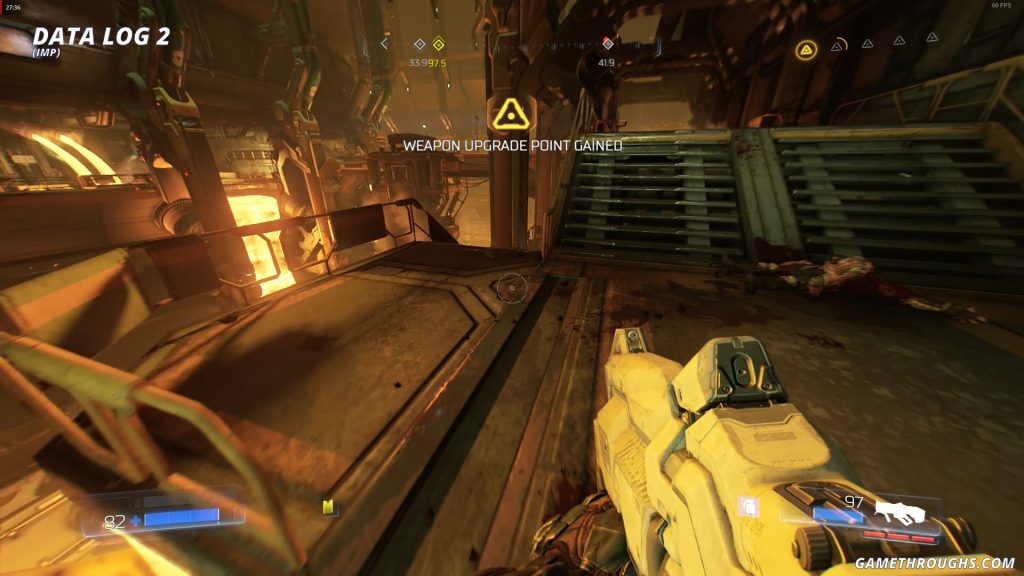
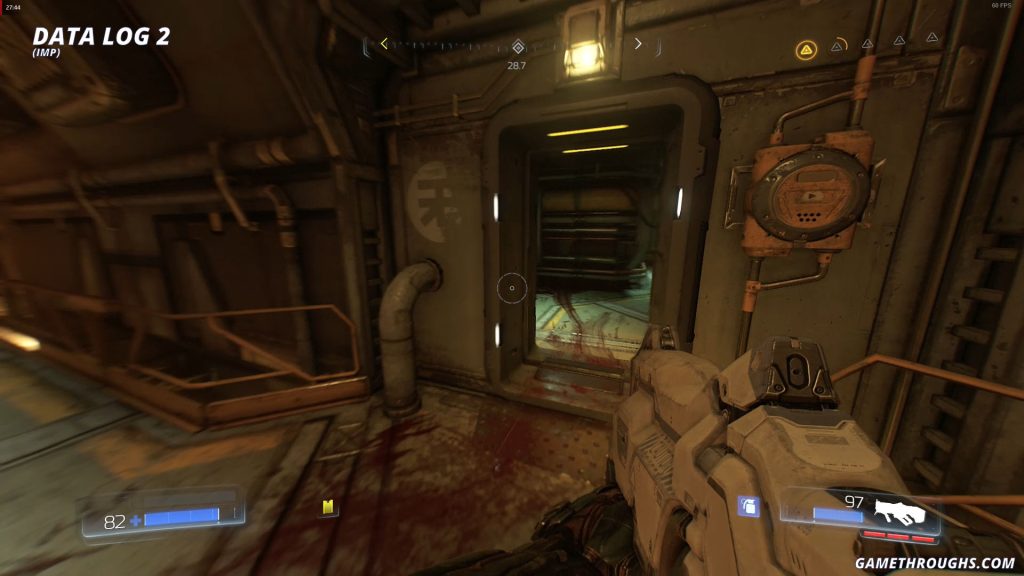
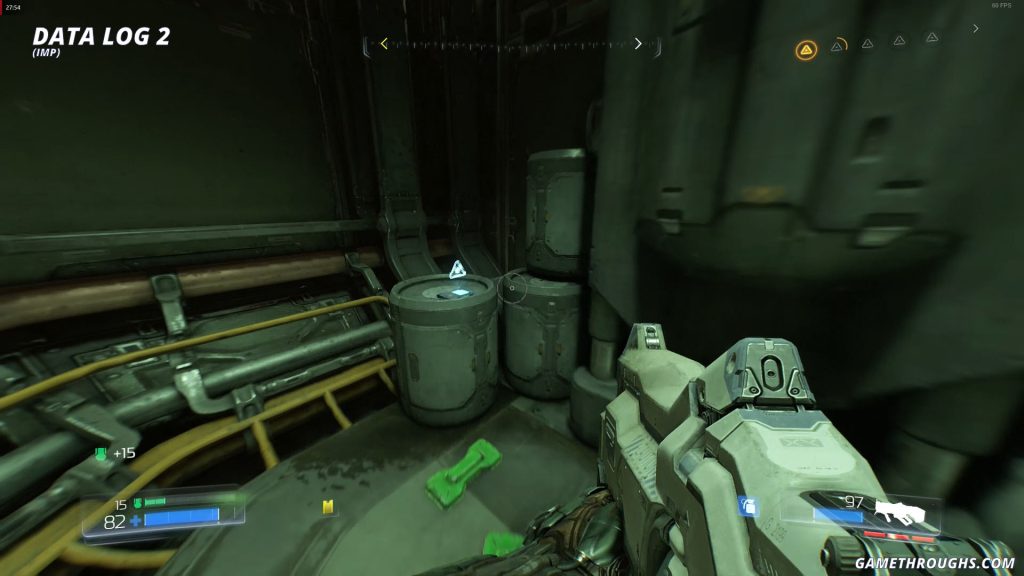
Data Log 2
(Imp)
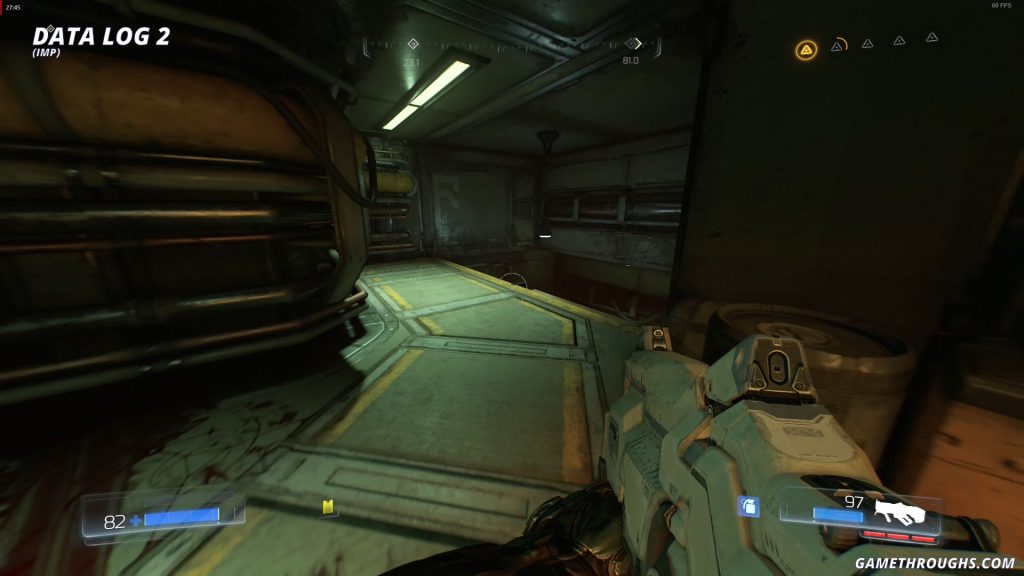
After picking up the Yellow Keycard, head back and look to the left for a staircase leading down. Follow the bloody trail to the door on the right, and you’ll find an opening that takes you to a lower floor. Once you drop down, turn around and go through the narrow green passage to find Data Log sitting on a barrel.
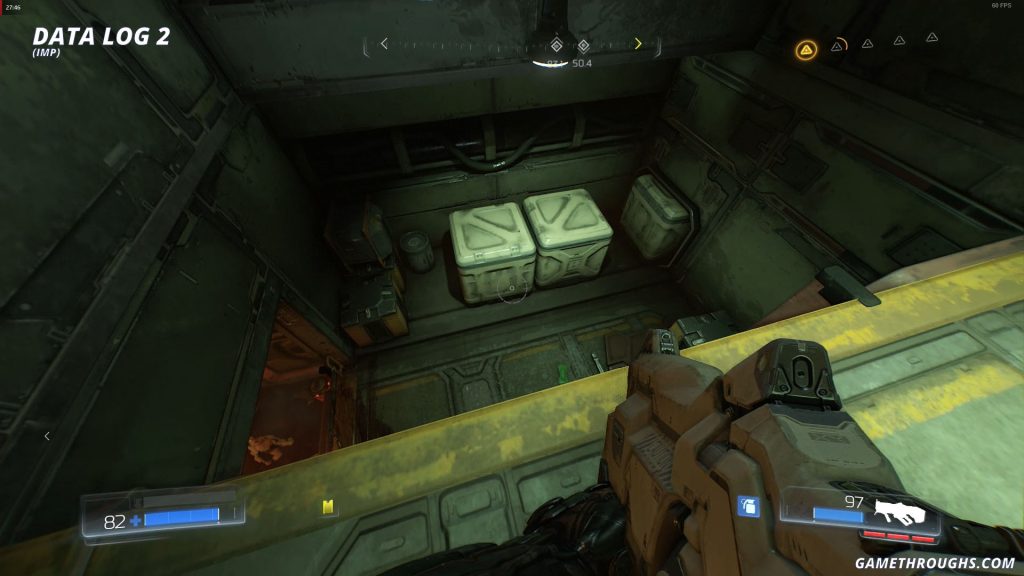
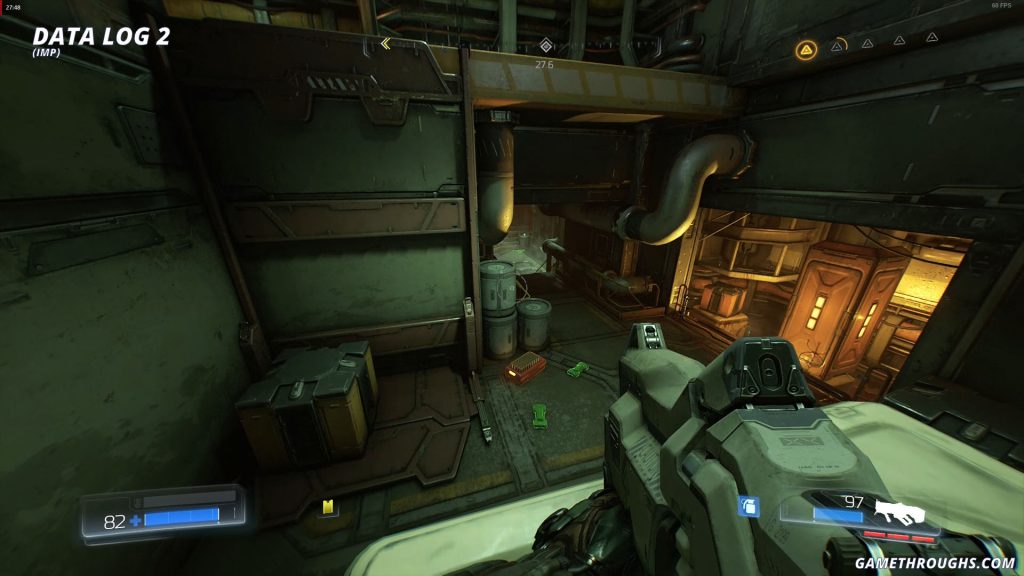

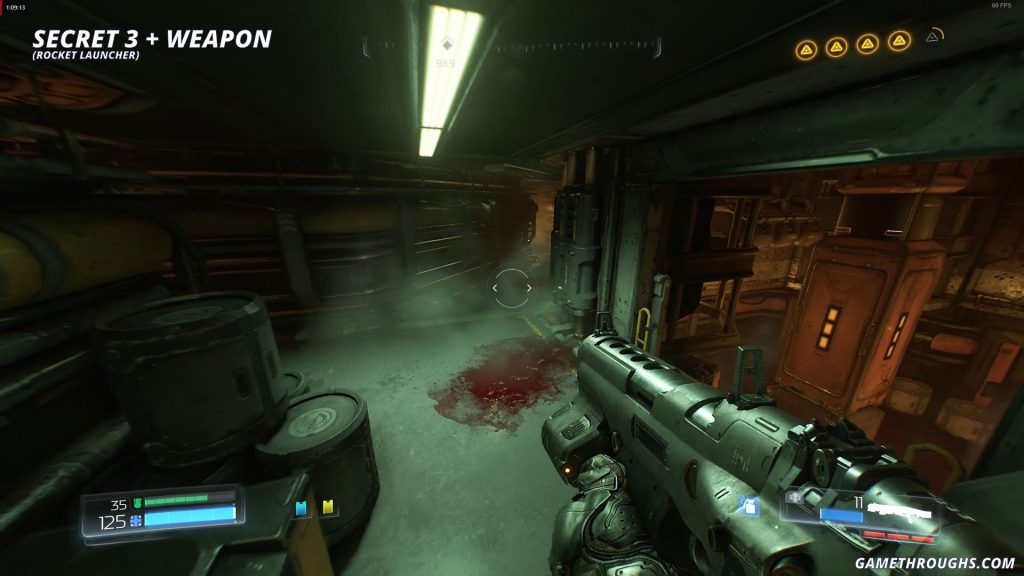
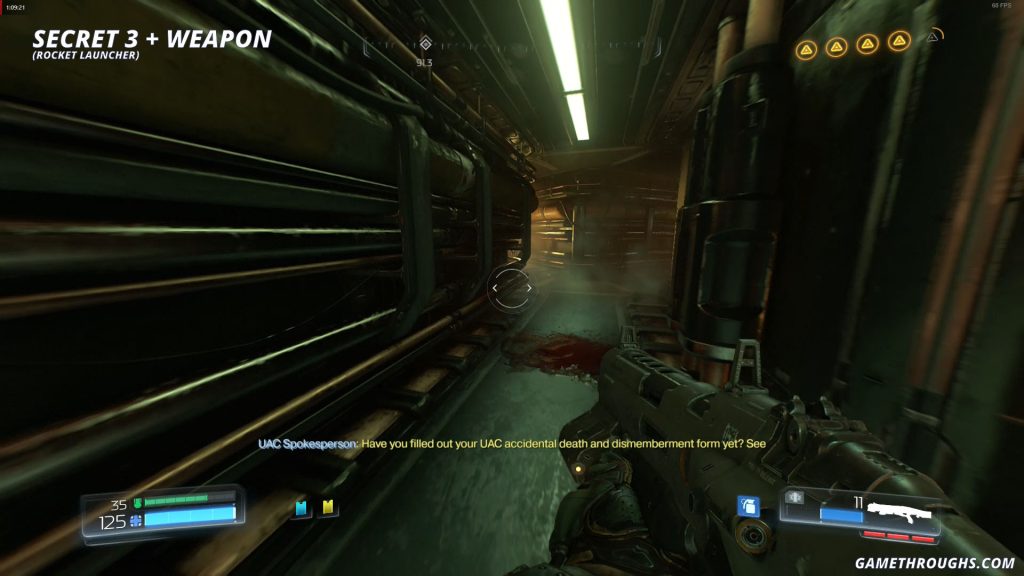
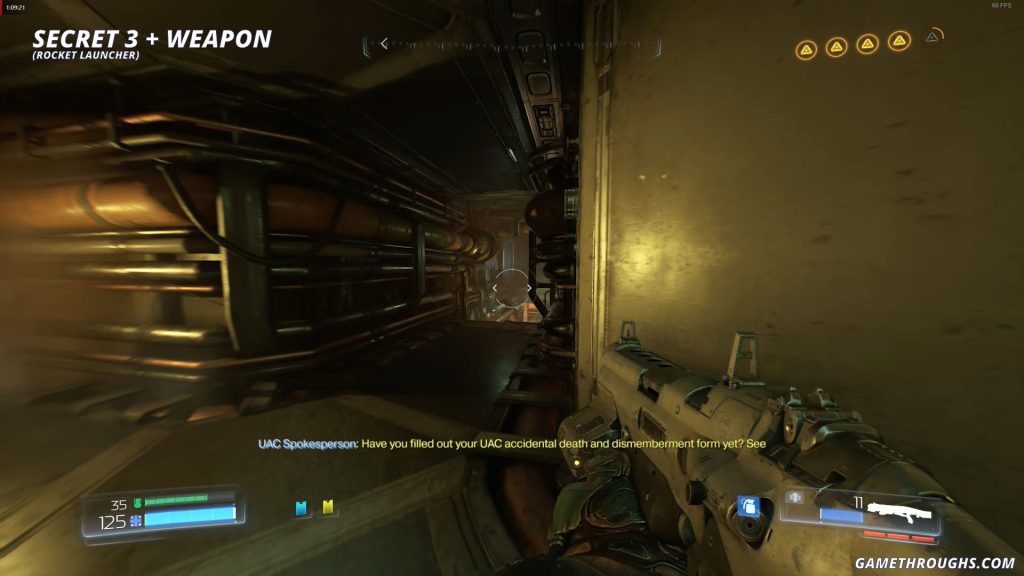
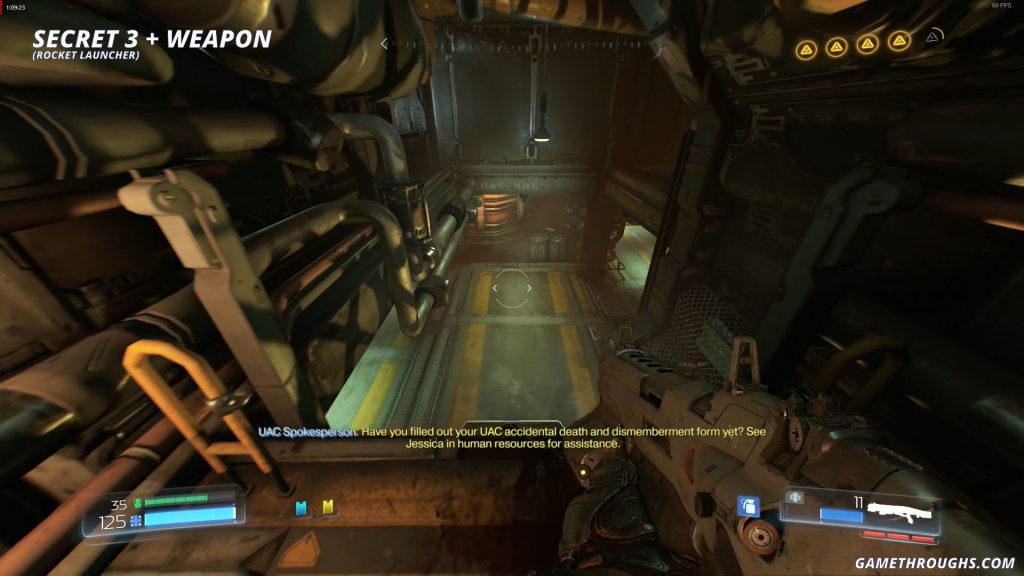
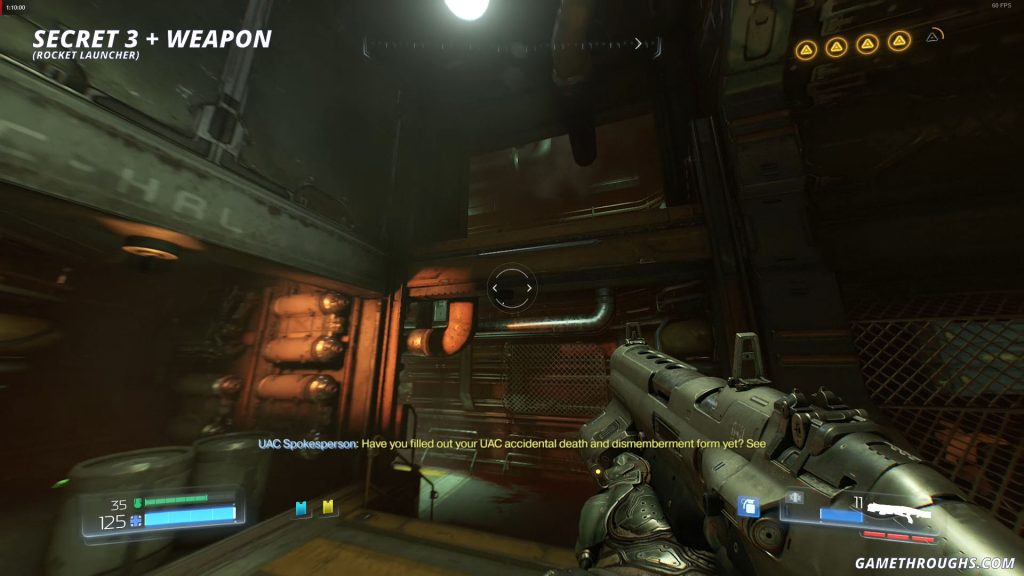
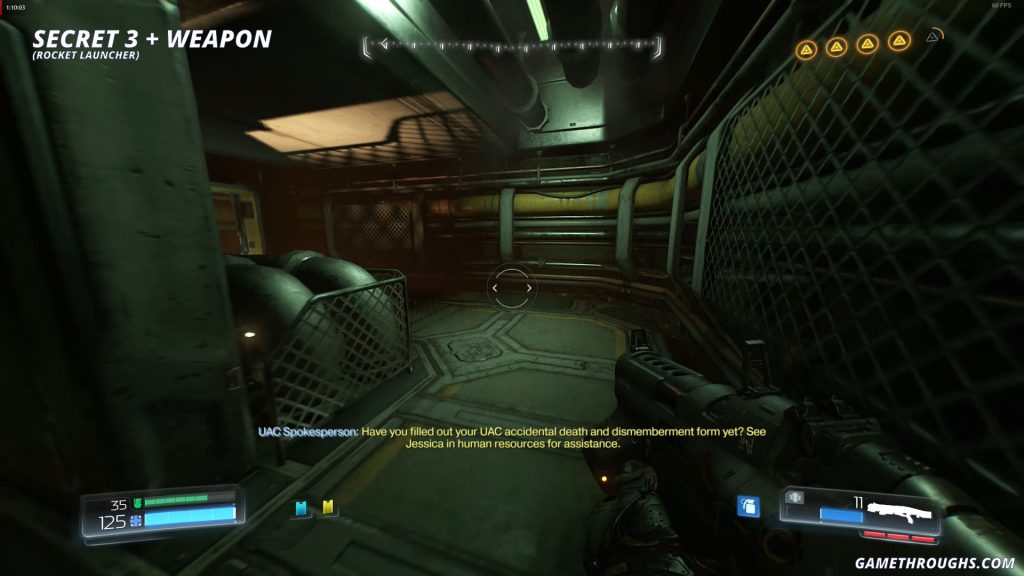
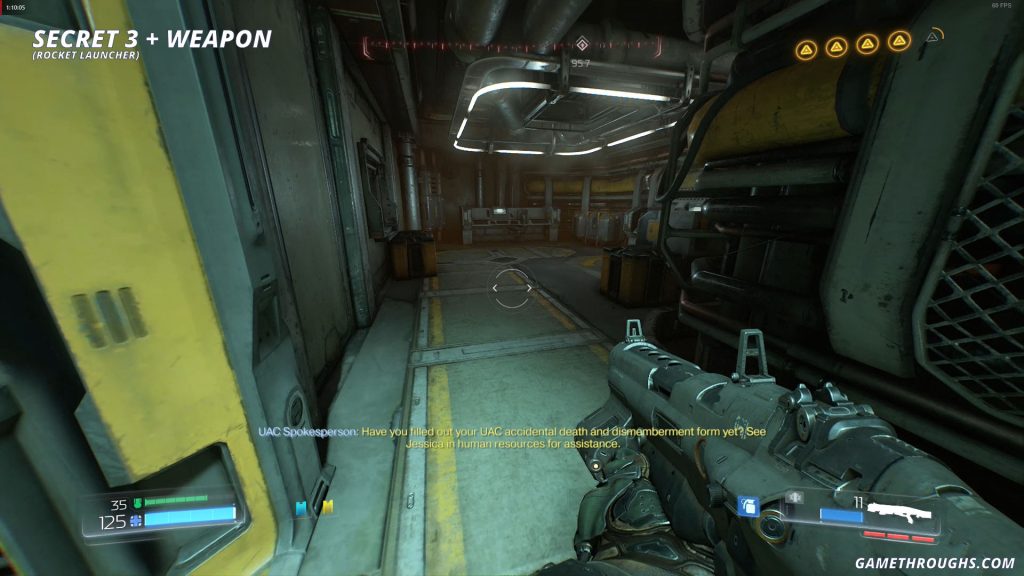
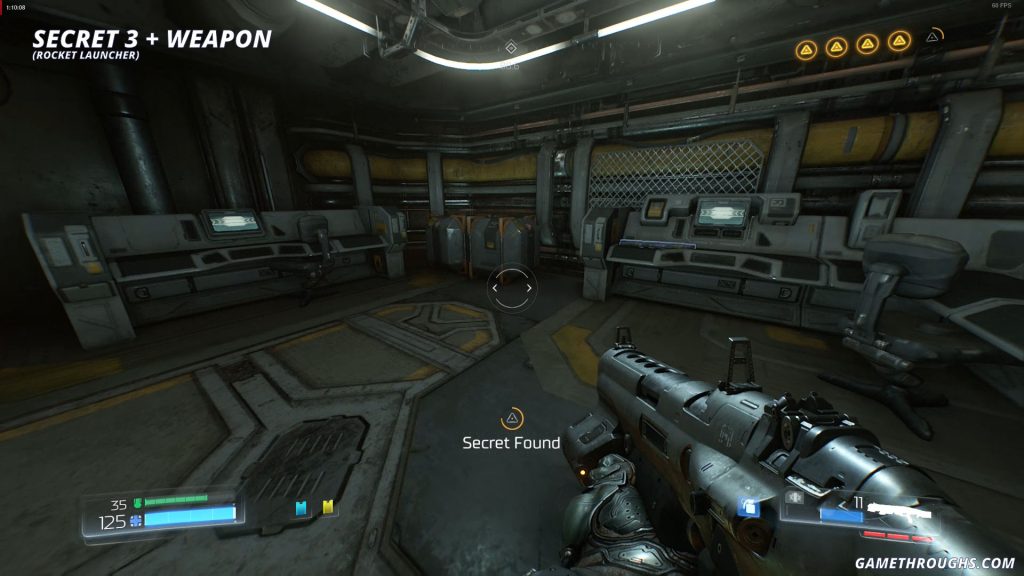
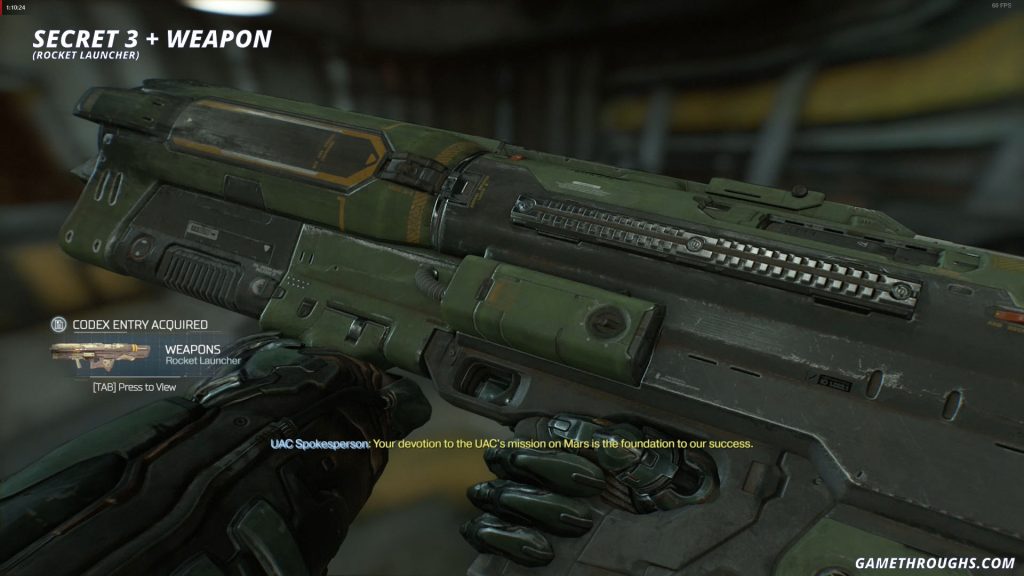
Secret 3 + Weapon
(Rocket Launcher)
In the same room where Data Log 2 is located, there is a window-like portal you can jump through. It leads to a series of branching hallways. Stick to the path along the right side, and when you reach a spot where you can drop down to a lower platform, look up to the upper-right side to spot another platform you can jump onto. This platform leads through a hallway into a room where you’ll find the Rocket Launcher.


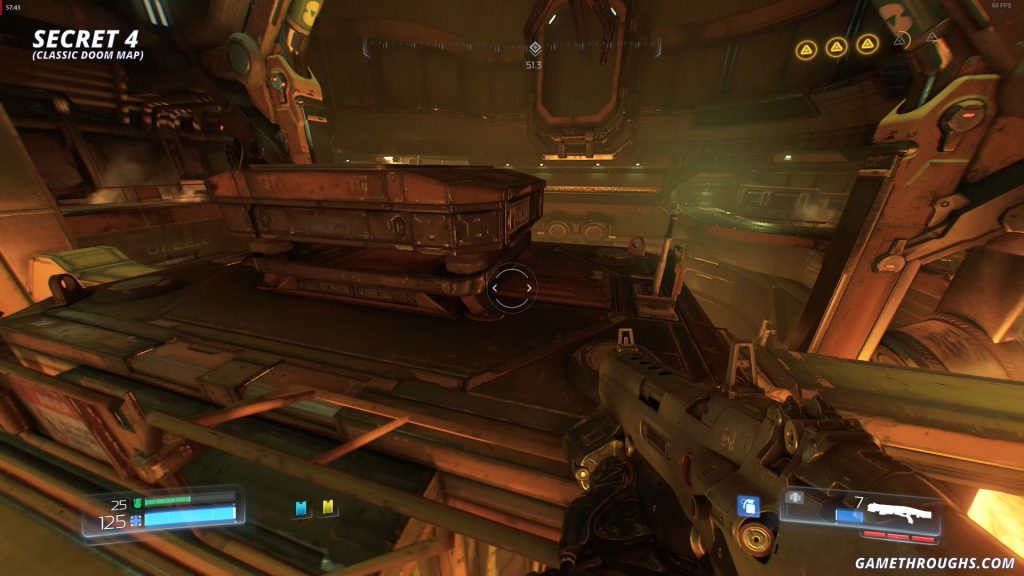
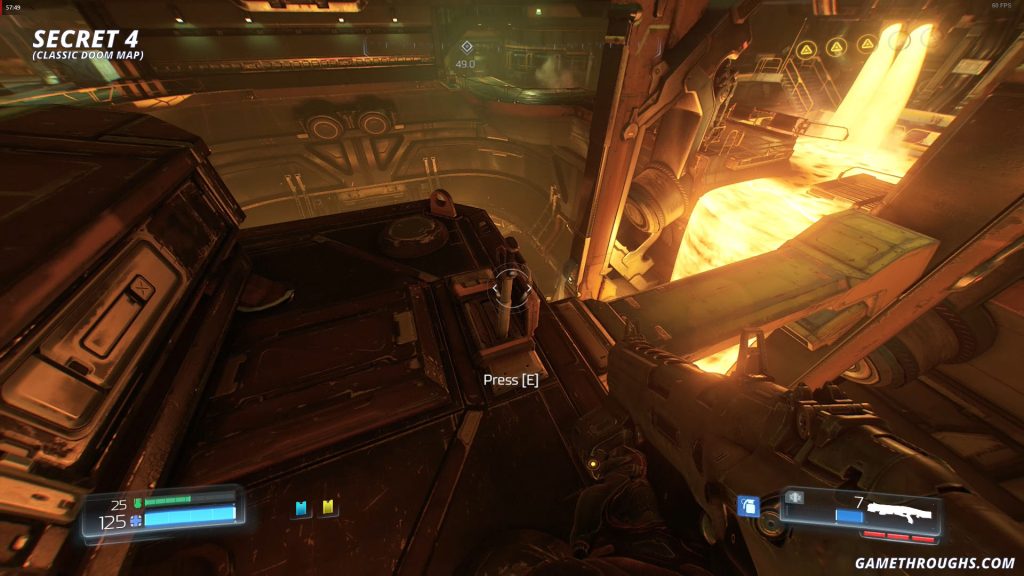
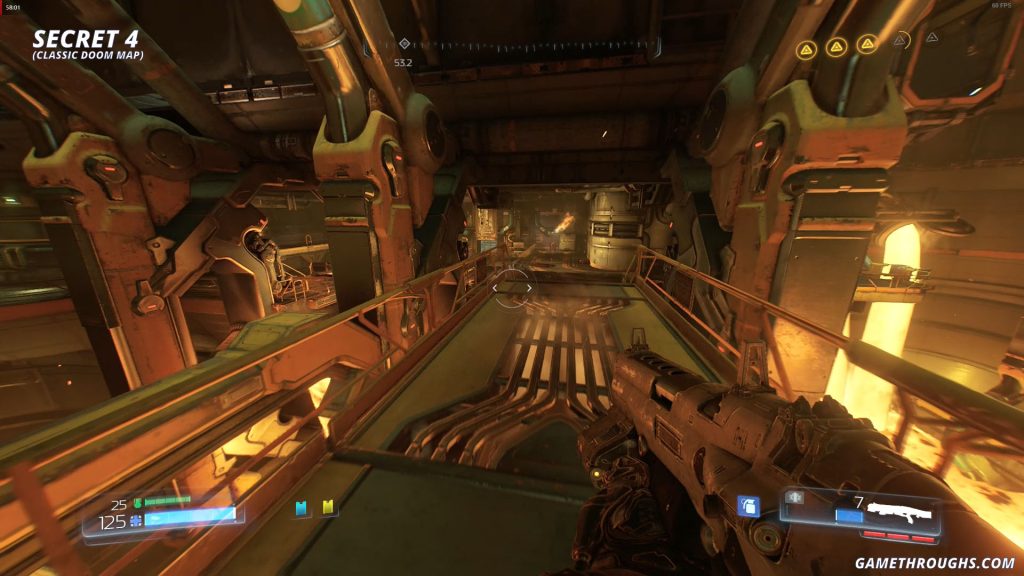
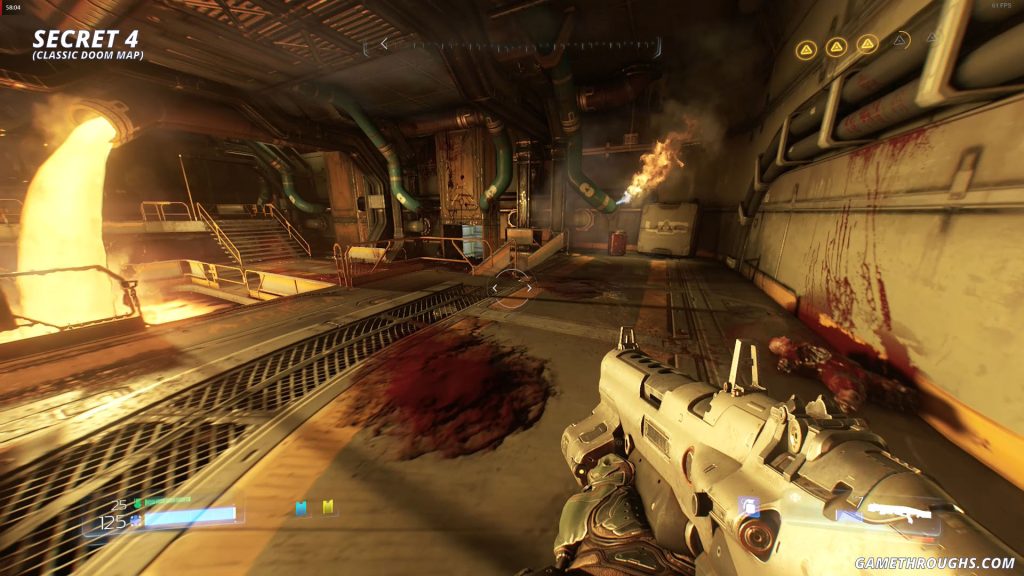
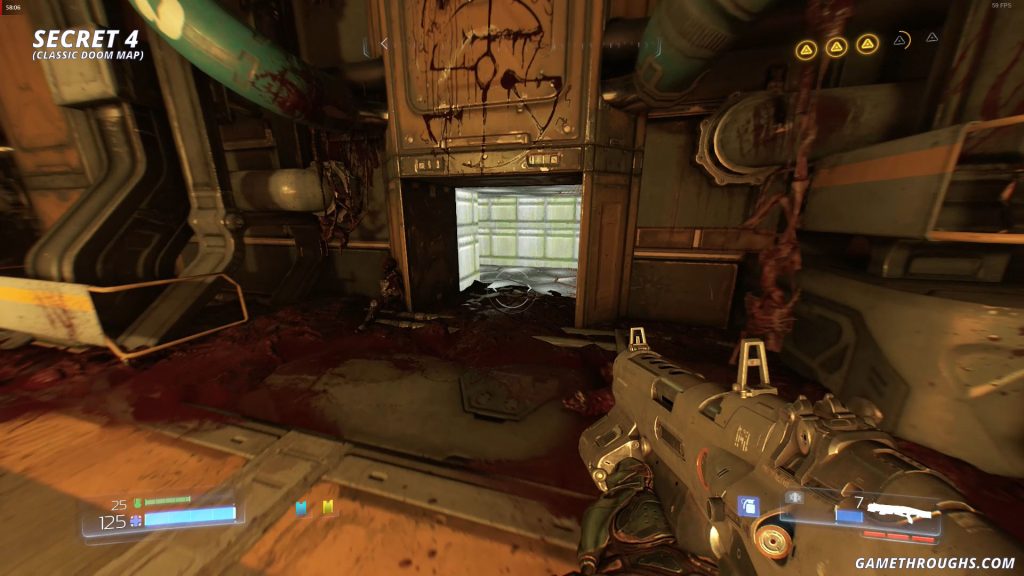
Secret 4
(Classic Doom Map)
Return to the upper level near the main platform and continue toward the next one. Between the two platforms, you’ll cross a second bridge. At the middle of the bridge, on one side, you can spot a ledge you can jump onto over the railing—there you’ll find the lever that unlocks the Classic Doom map. To access the map, simply continue straight from the bridge toward the pipes with flowing lava, where you’ll see the door to the Classic Doom map now open.
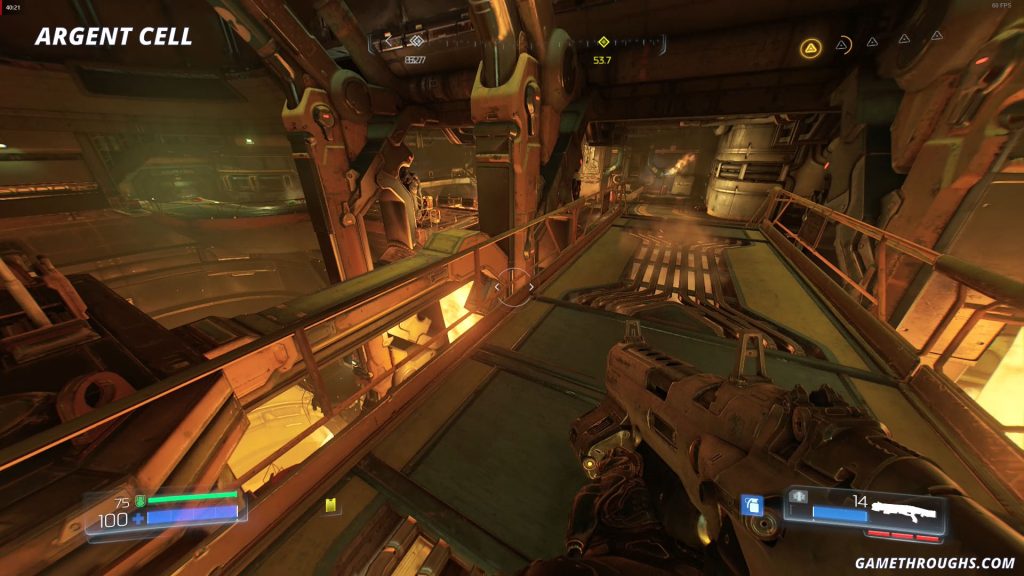
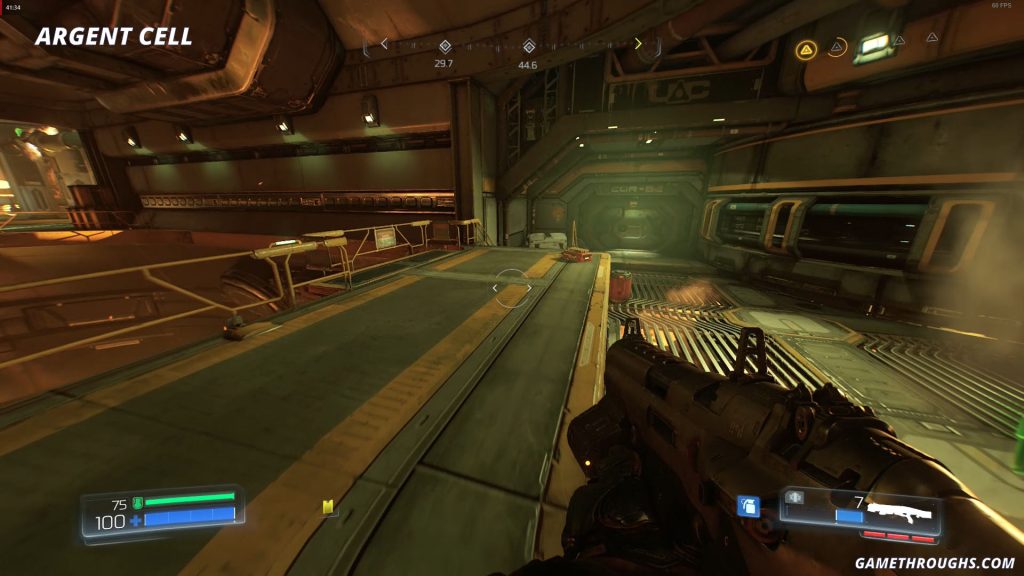
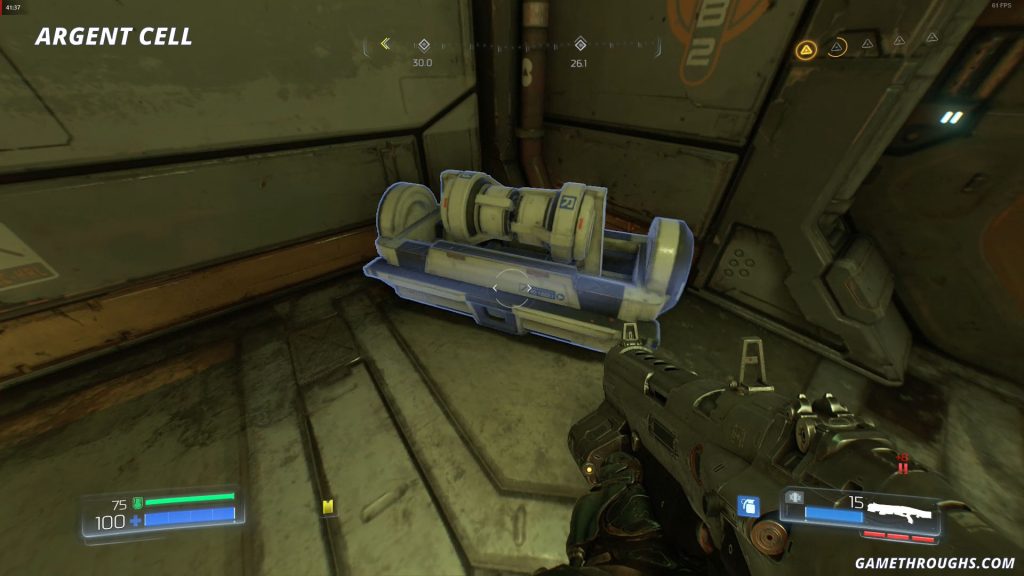
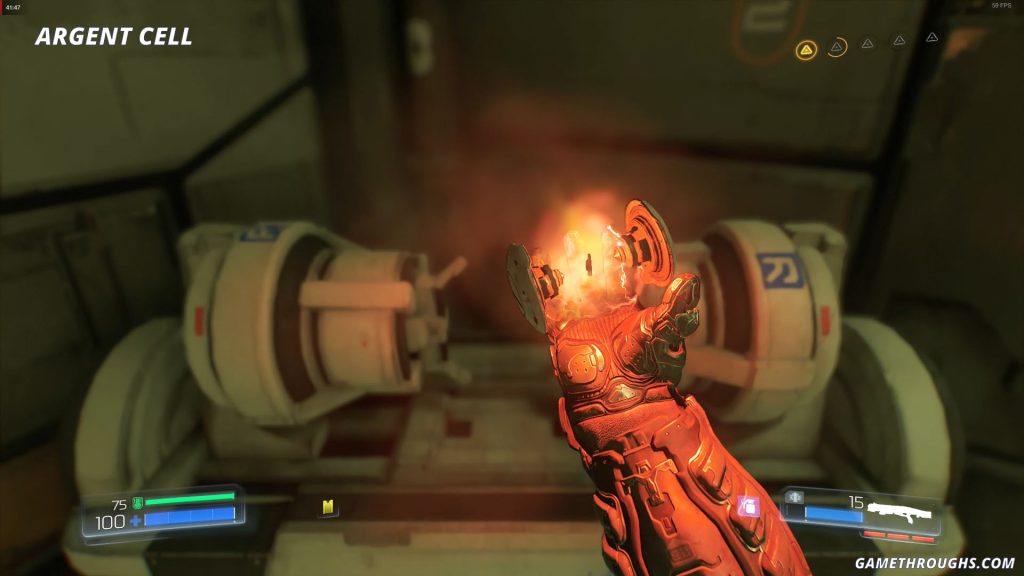
Argent Cell
When you reach the second large platform by crossing the second bridge, you’ll see pipes on the ceiling with lava flowing through them. In the far left corner, you’ll find an Argent Cell.
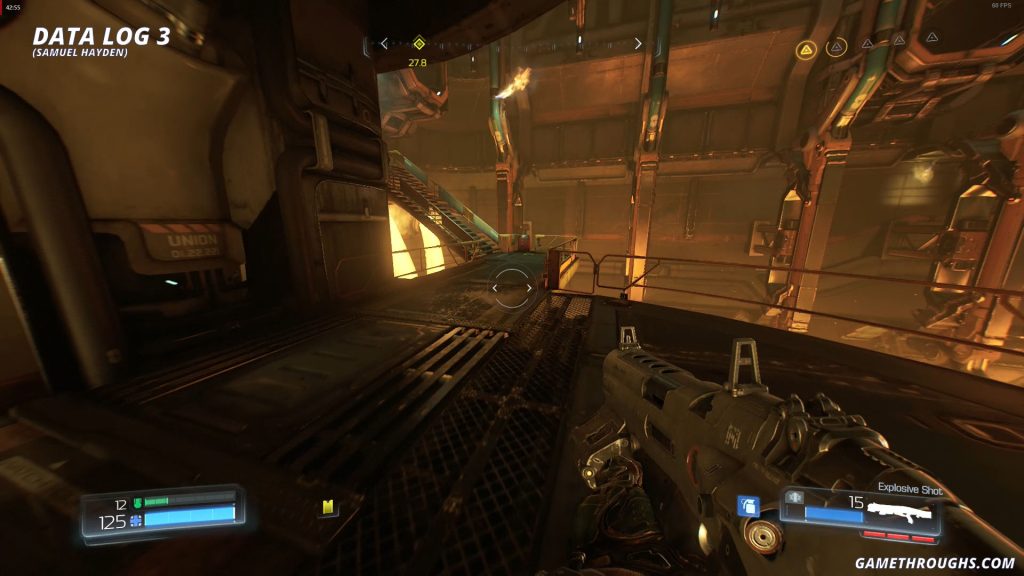
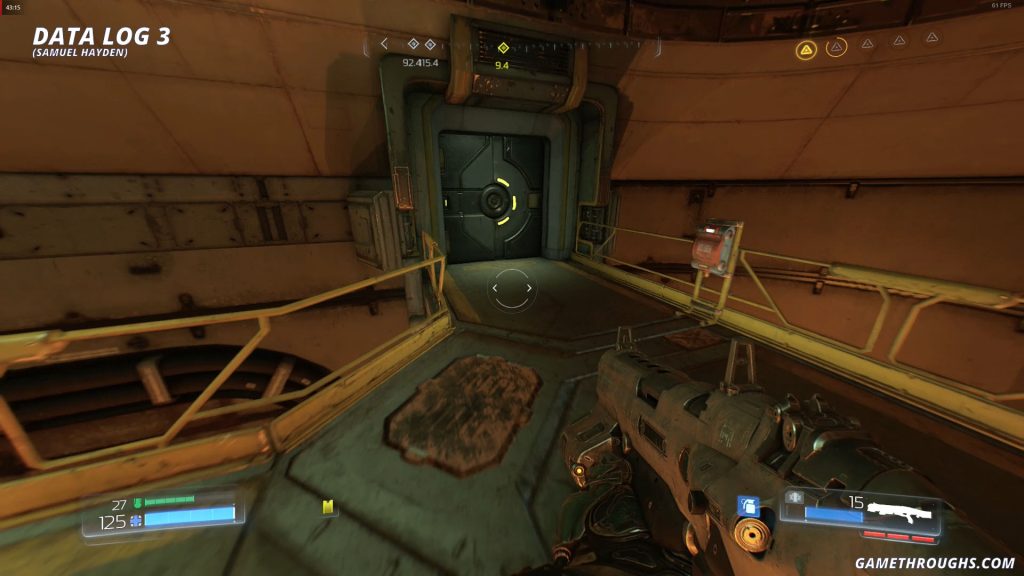
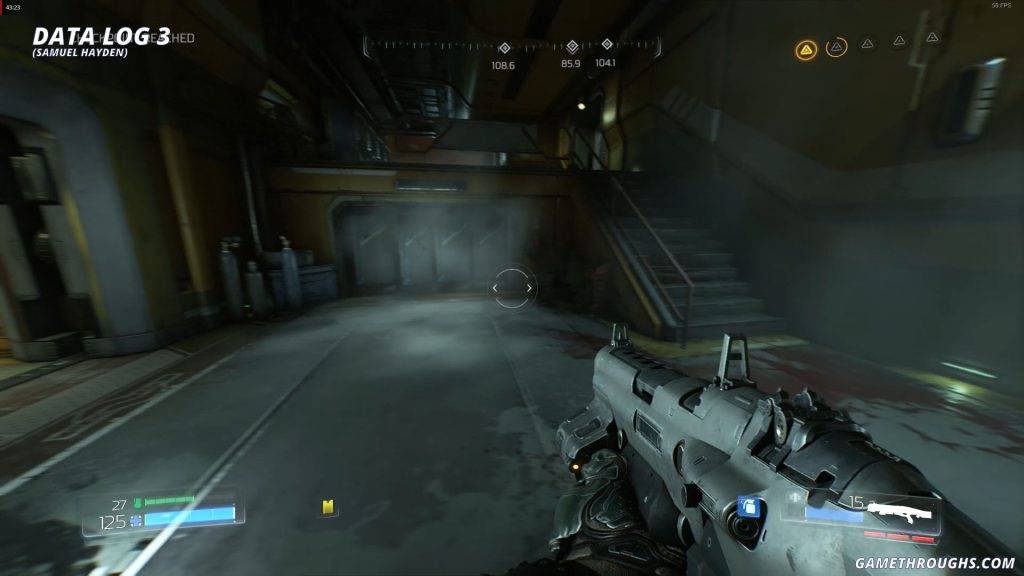
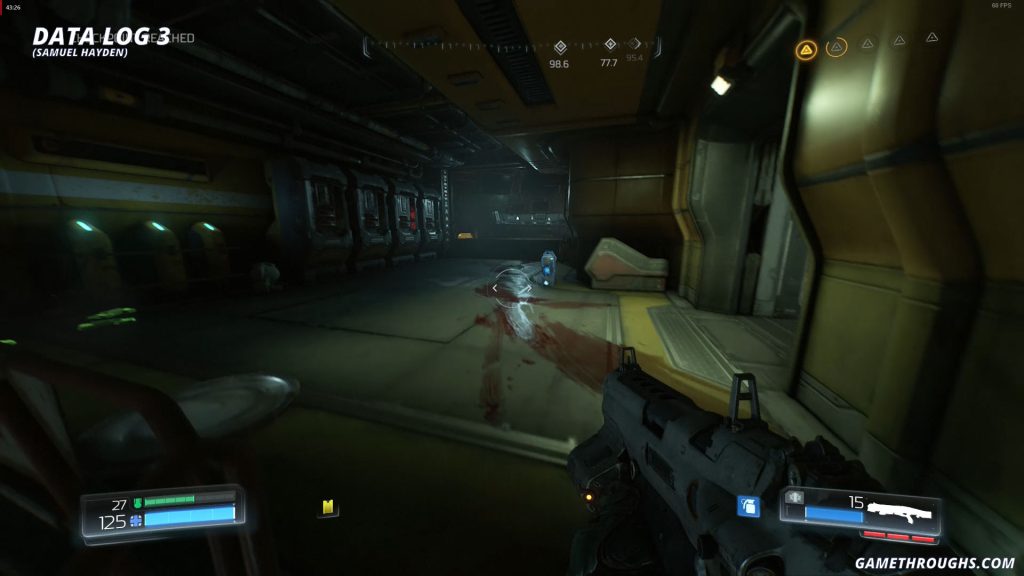
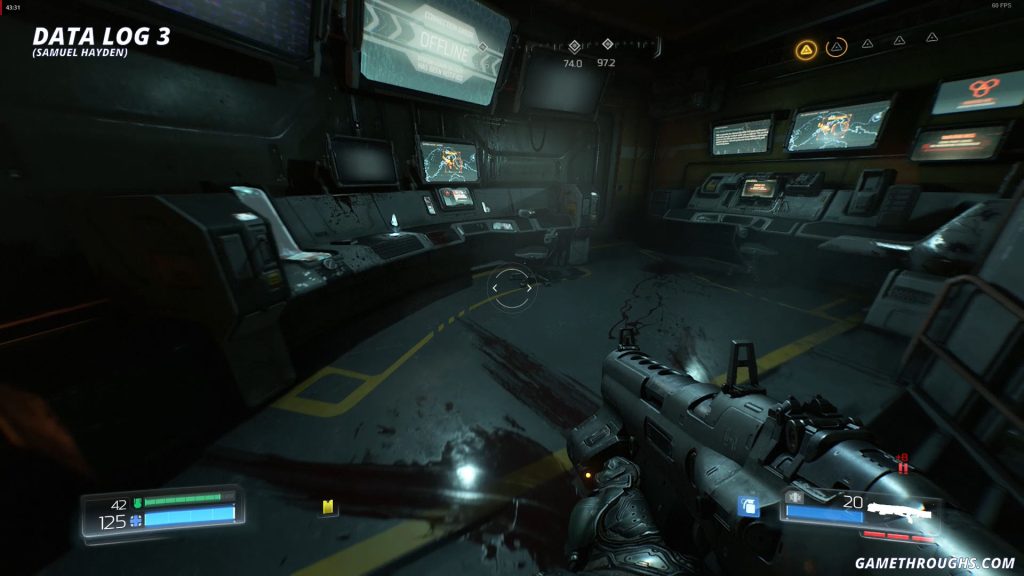
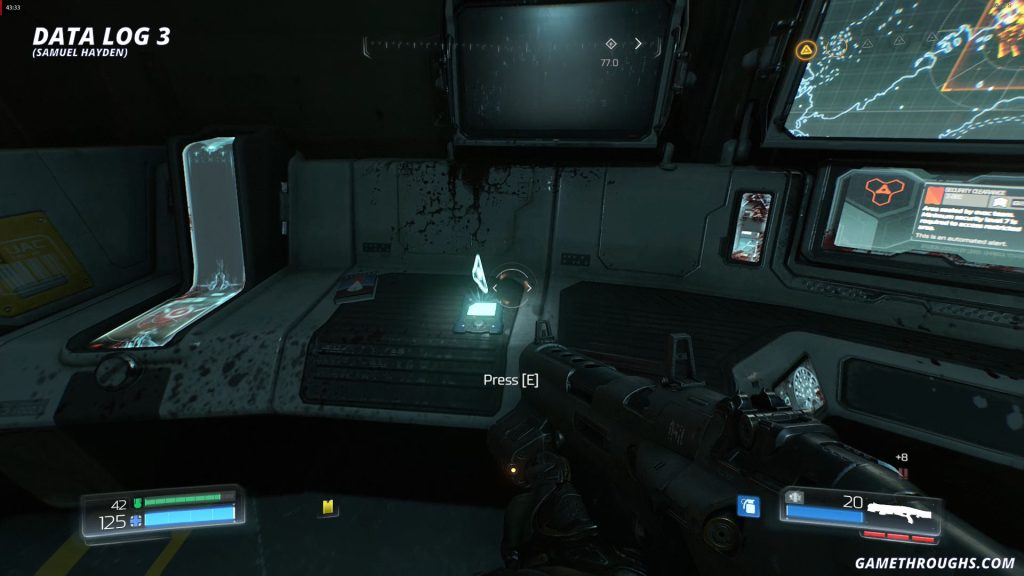
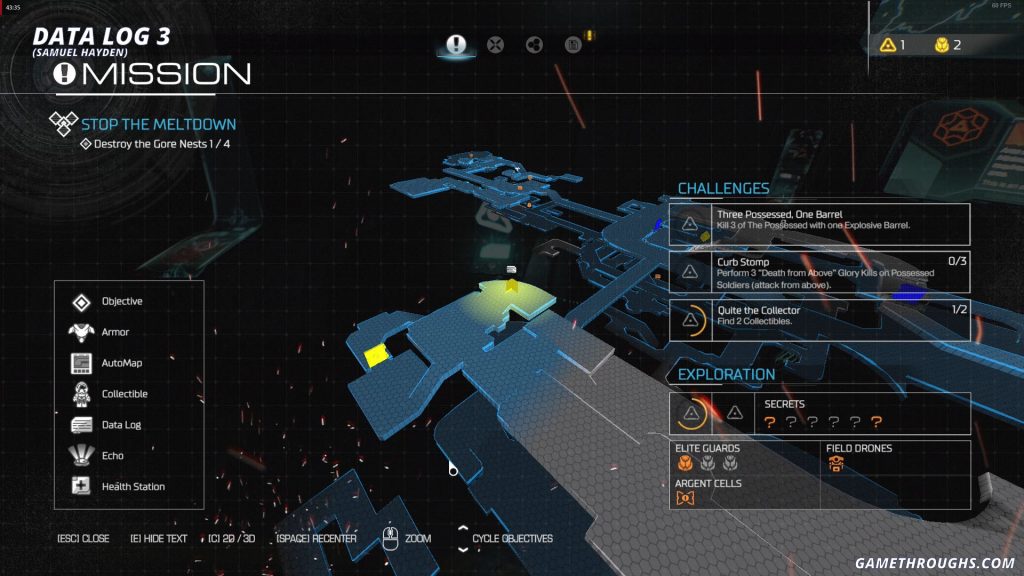
Data Log 3
(Samuel Hayden I)
On the same platform, after crossing the bridge, head to the opposite side from the Argent Cell. To the right, take the stairs up to a door that requires the Yellow Keycard. Inside the small room, on the left side, you’ll find a Data Log on the console.
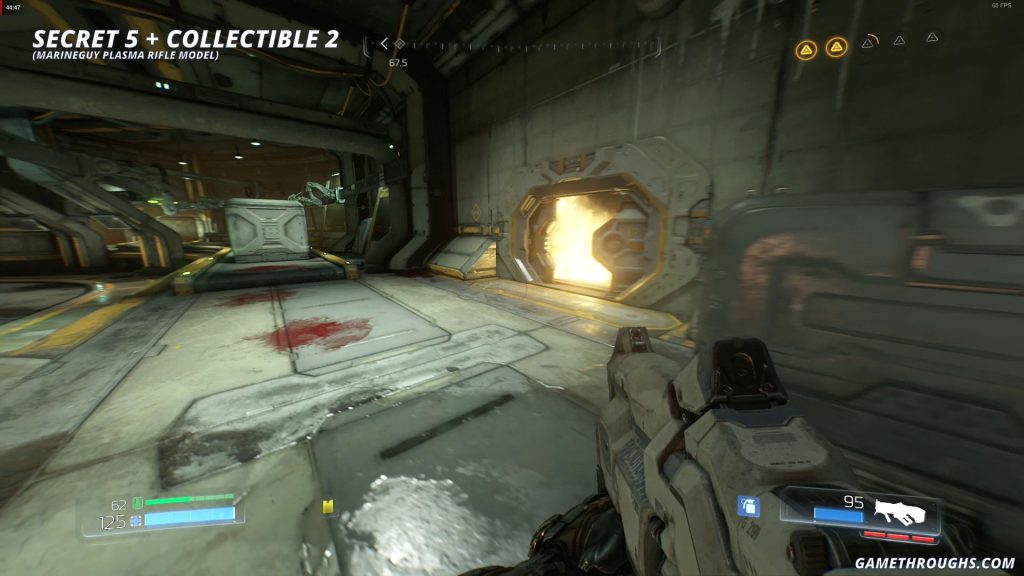
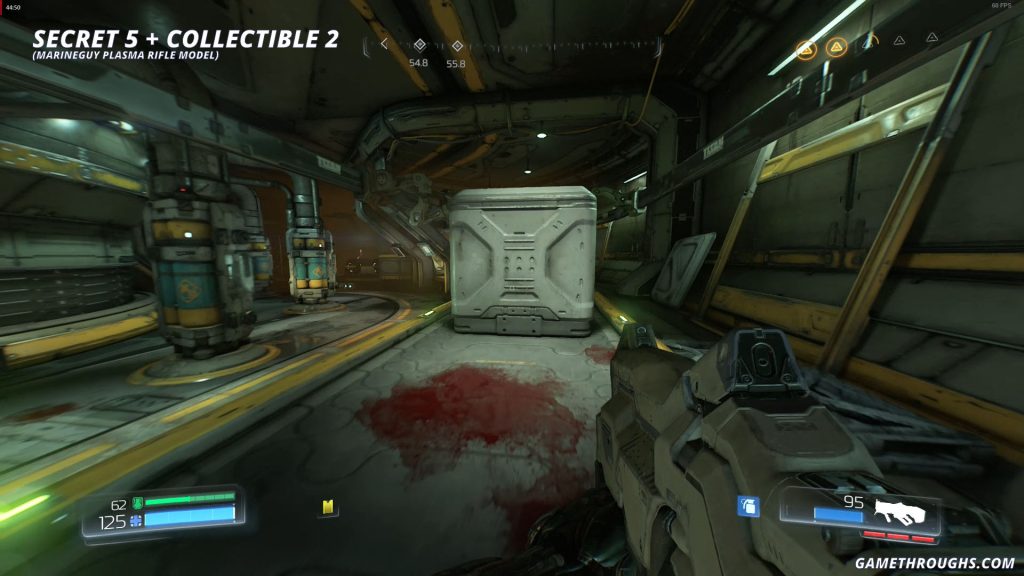
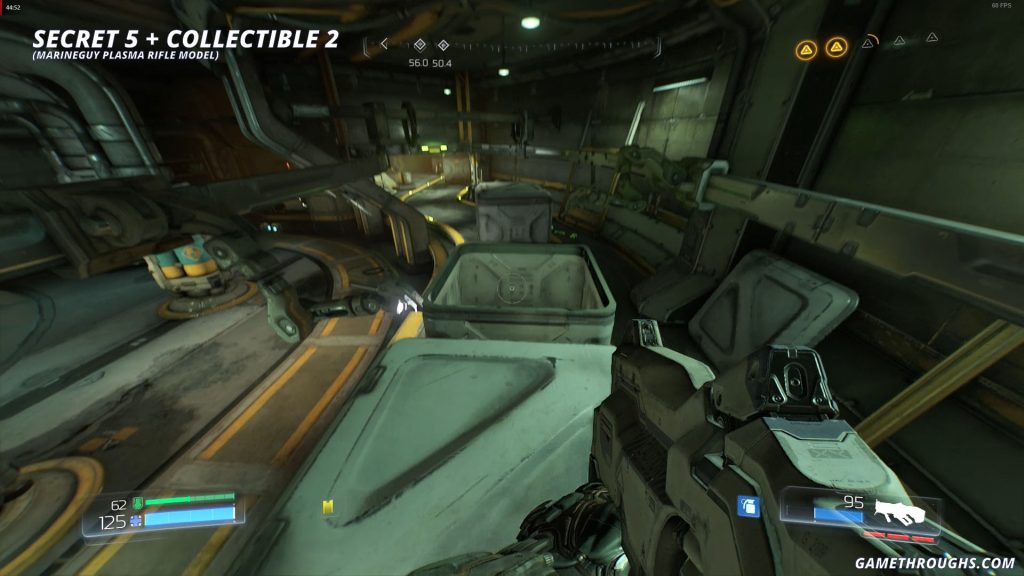
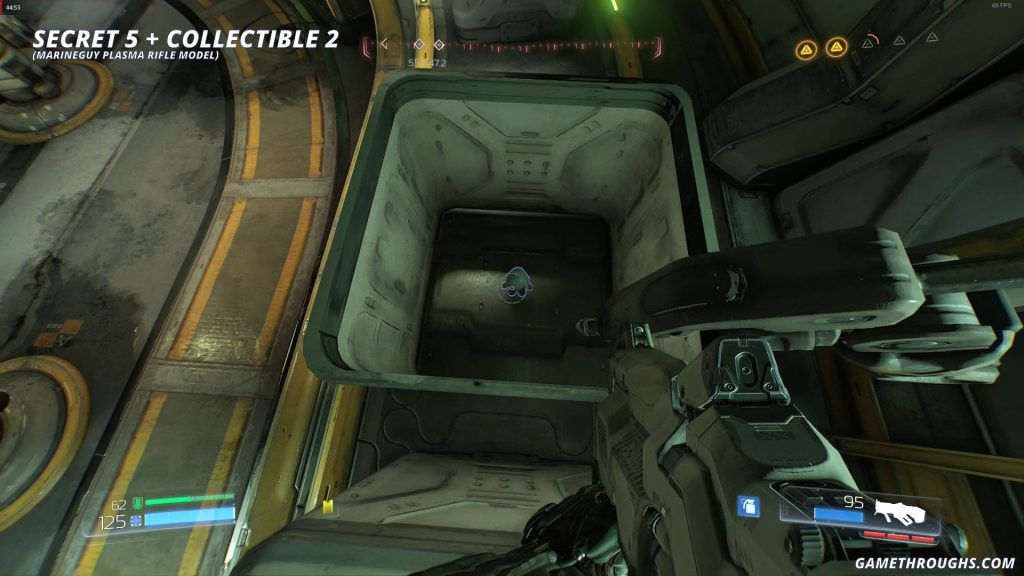
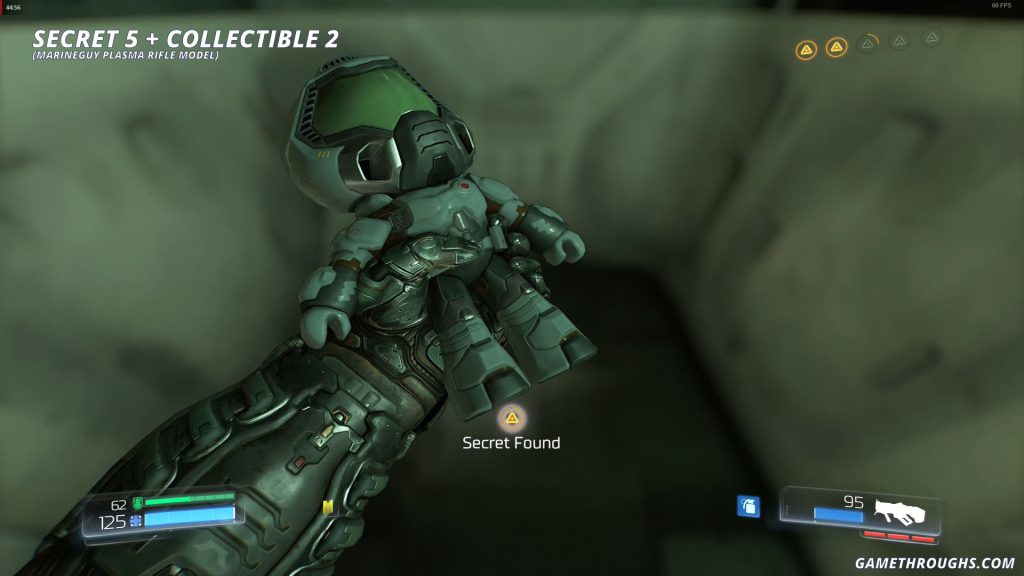
Secret 5 + Collectible 2
(Marineguy Plasma Rifle Model)
In the same room where Data Log 3 is located, there is a door leading to an area with an assembly track with crates. Inside one of the crates, you’ll find a Secret and collectible figurine.
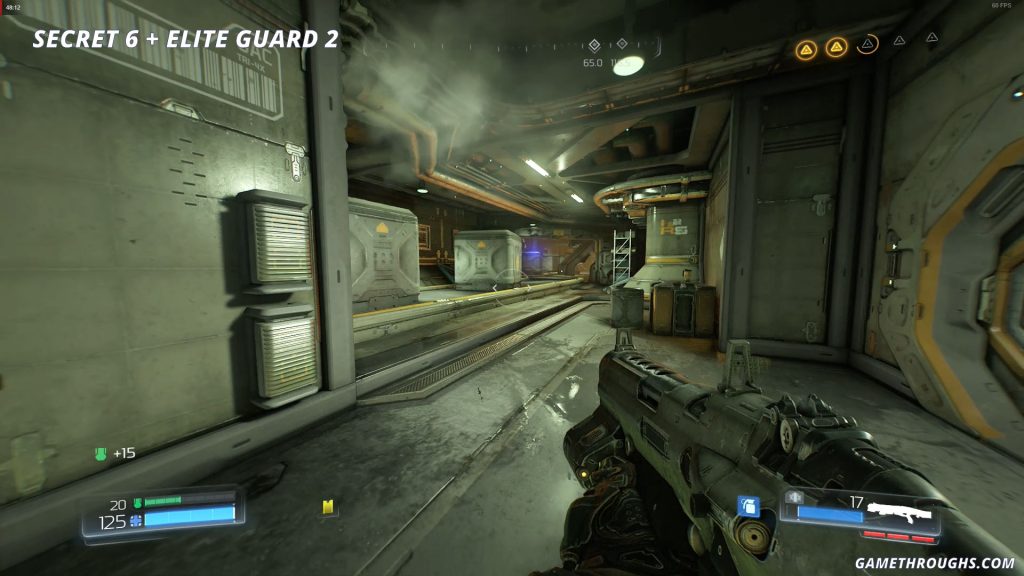
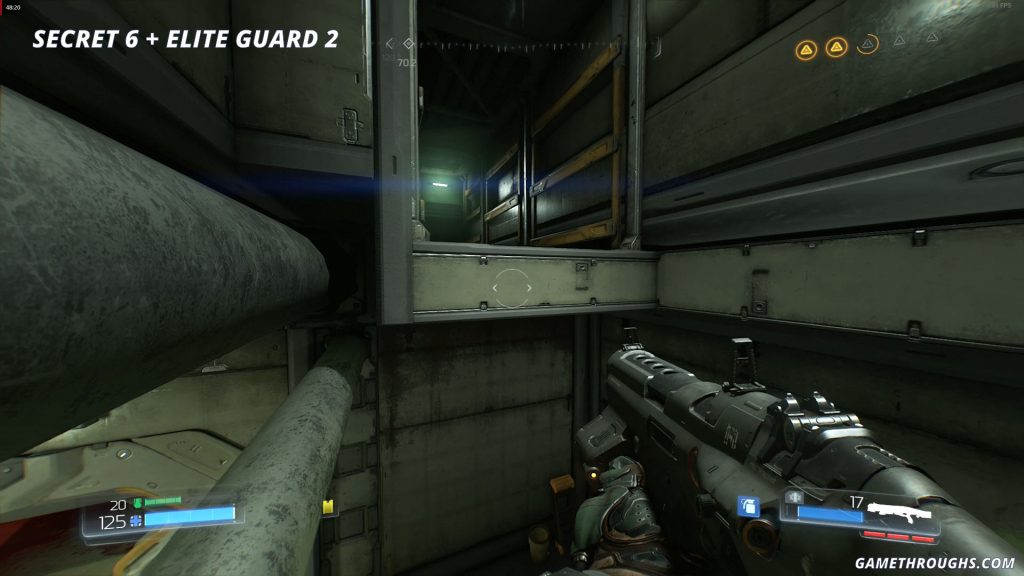
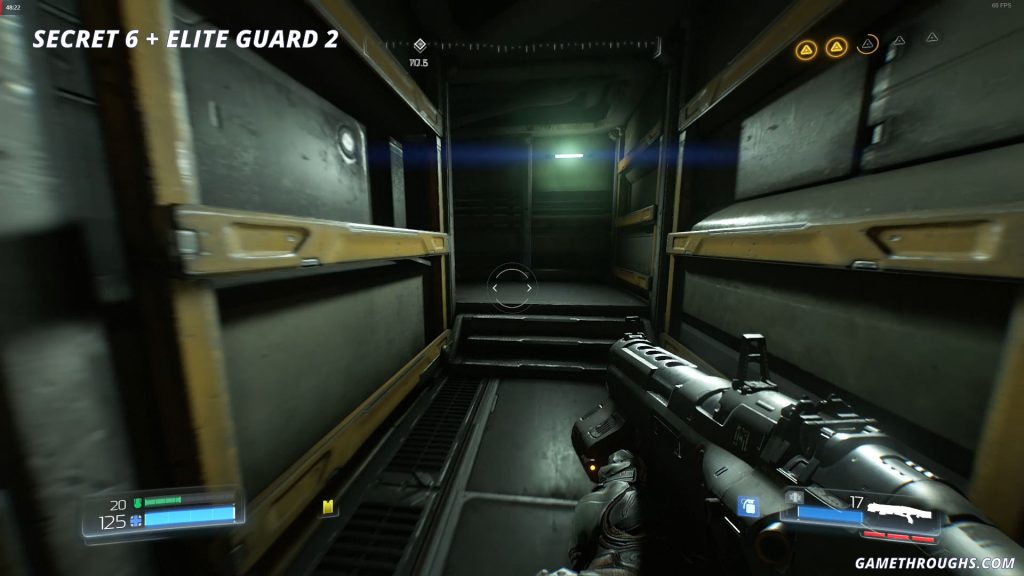
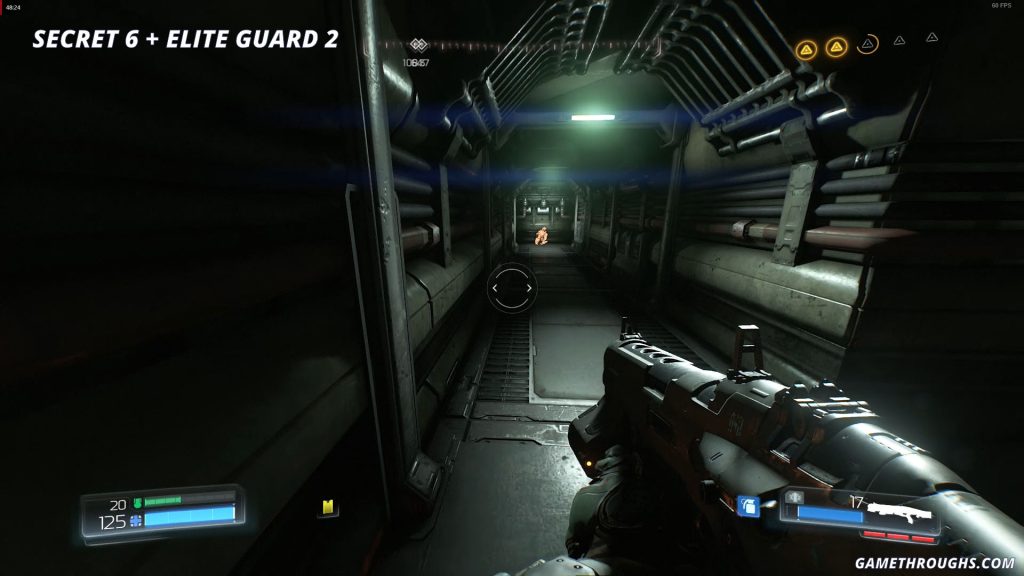
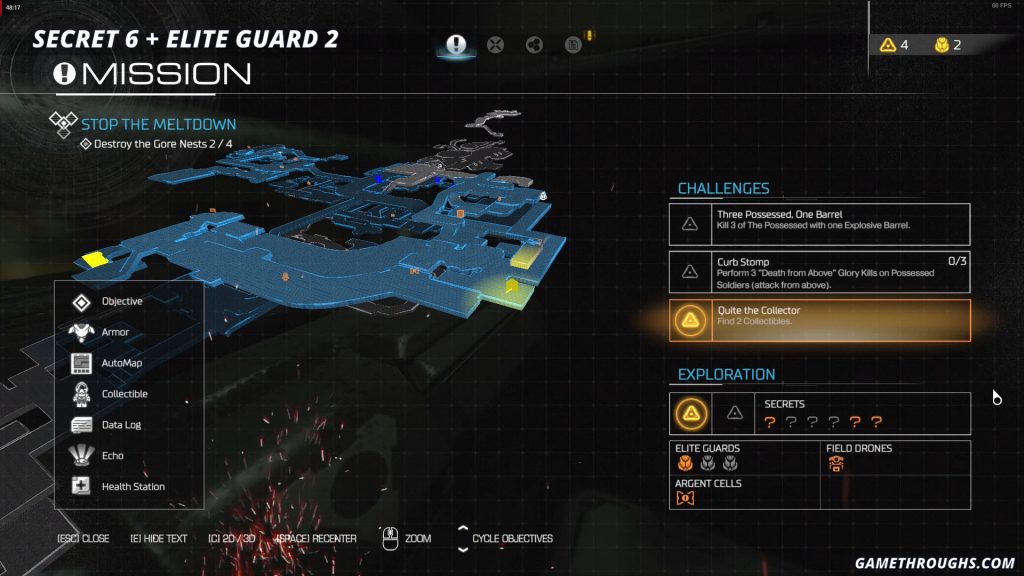
Secret 6 + Elite Guard 2
Head to the opposite side of the assembly track, and in the right corner next to the door you’ll see a stack of crates. Climb on top of them to reach a passage that leads to an Elite Guard and a Secret.


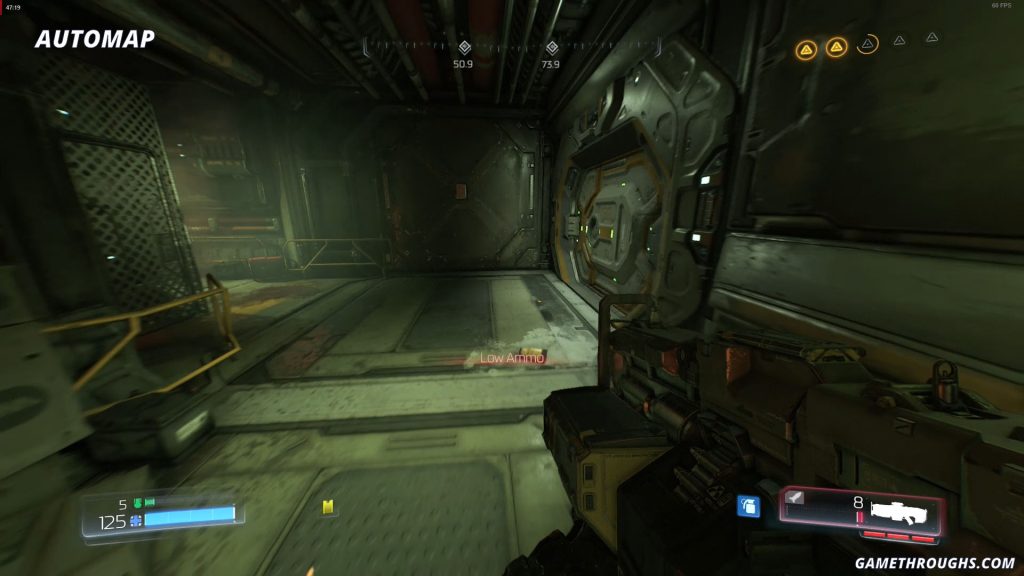
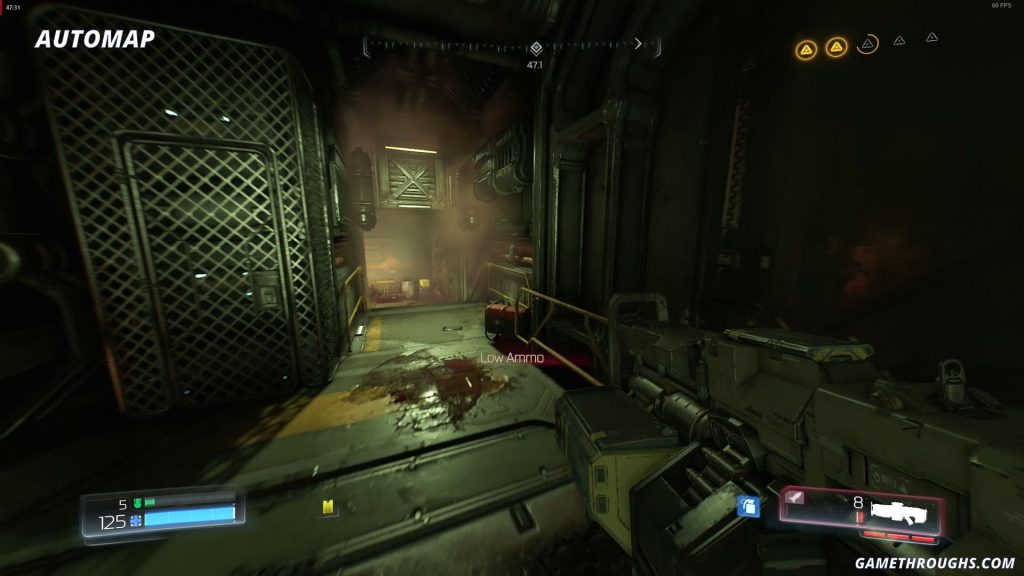
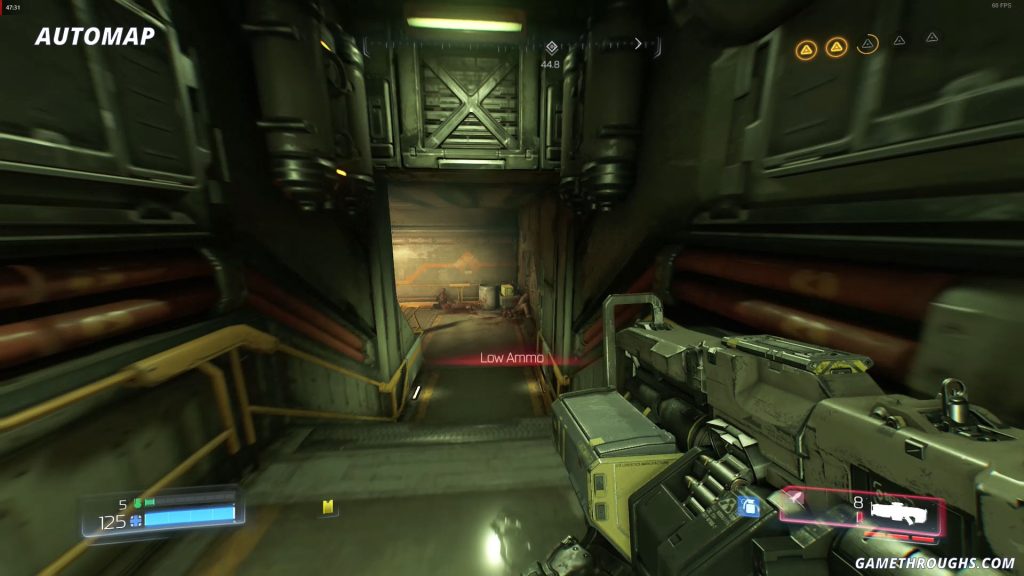
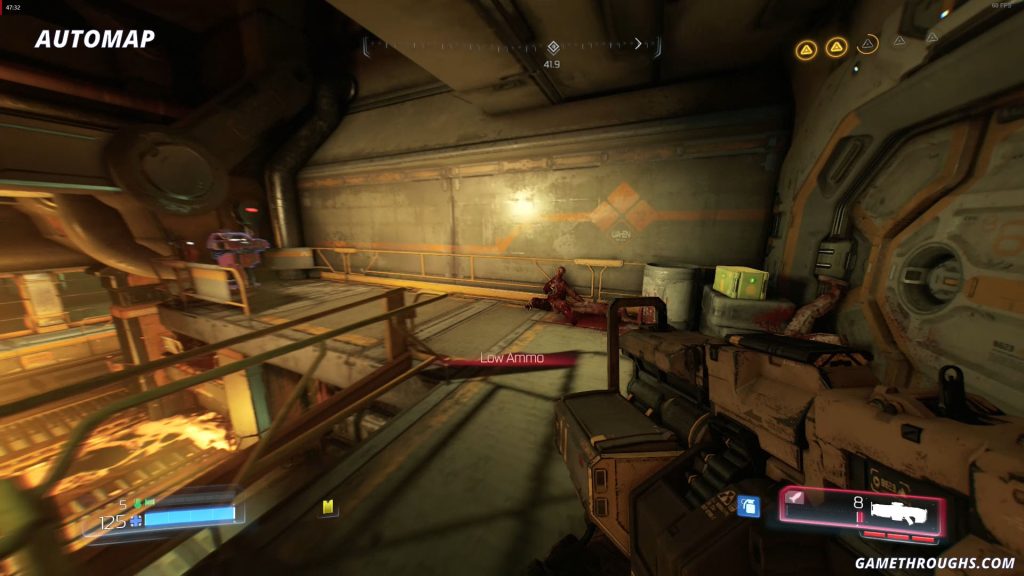
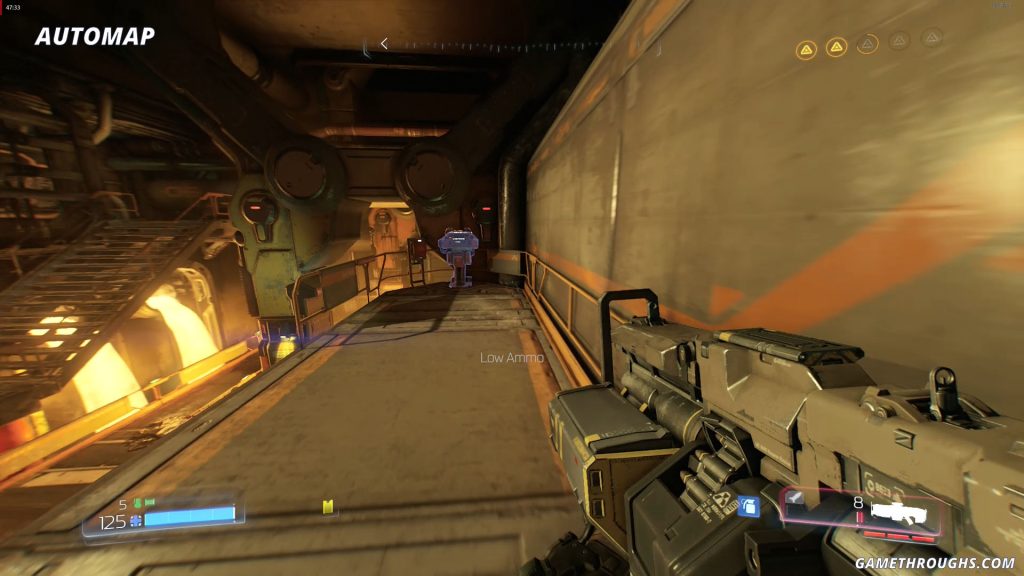
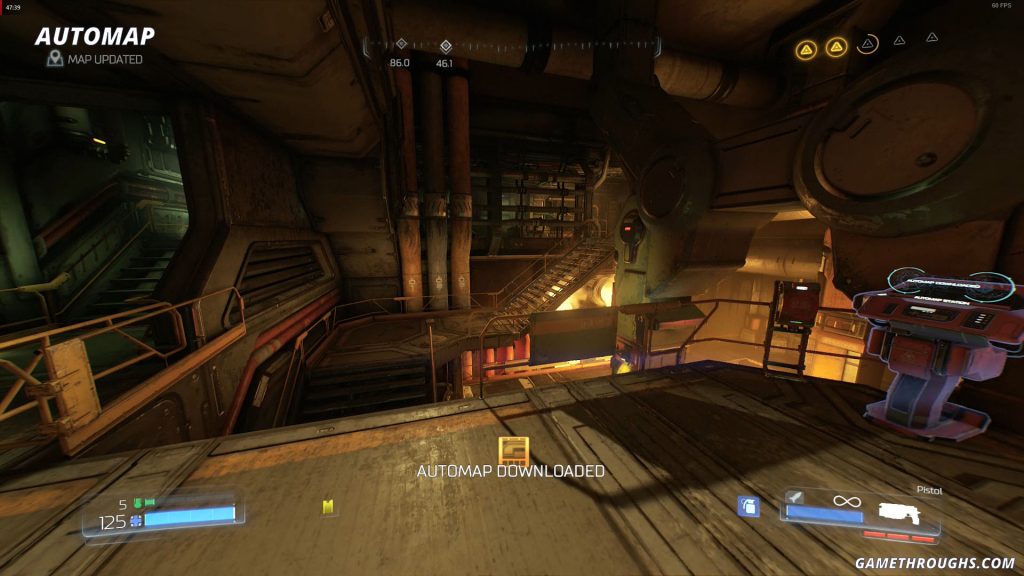
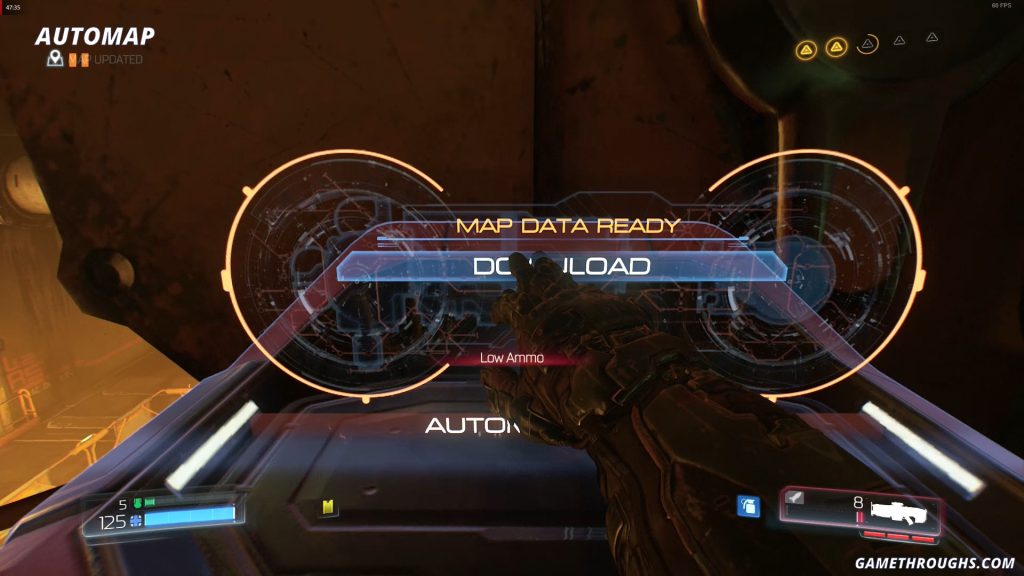
Automap
Continue through the door at the opposite end of the assembly track room. After the fight with demons and destroying one of the Gore Nests, go up the stairs all the way to the top of the platform. At the end of the hallway, the path splits—right through a door, or left. Take the left path to find the Automap.
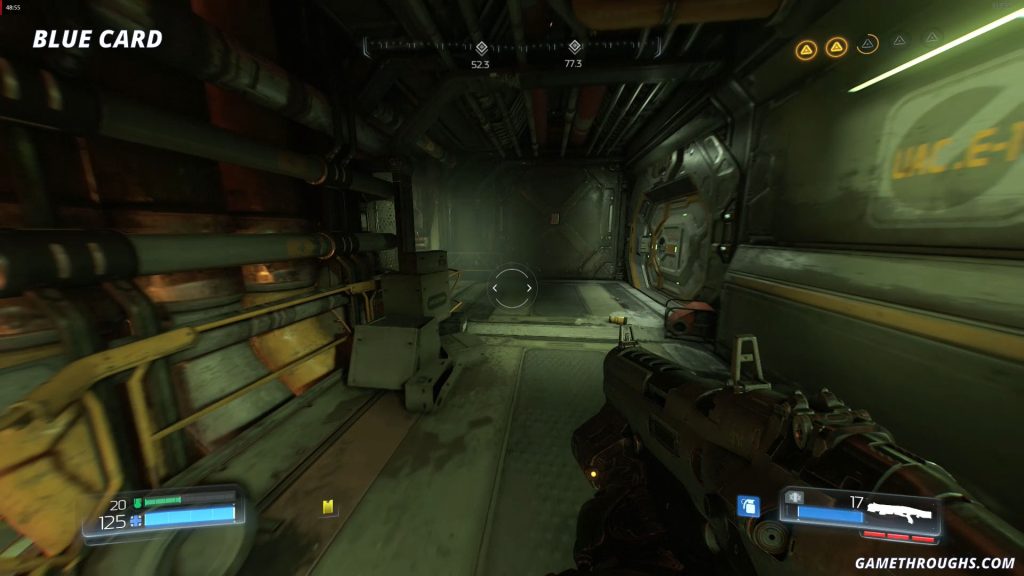
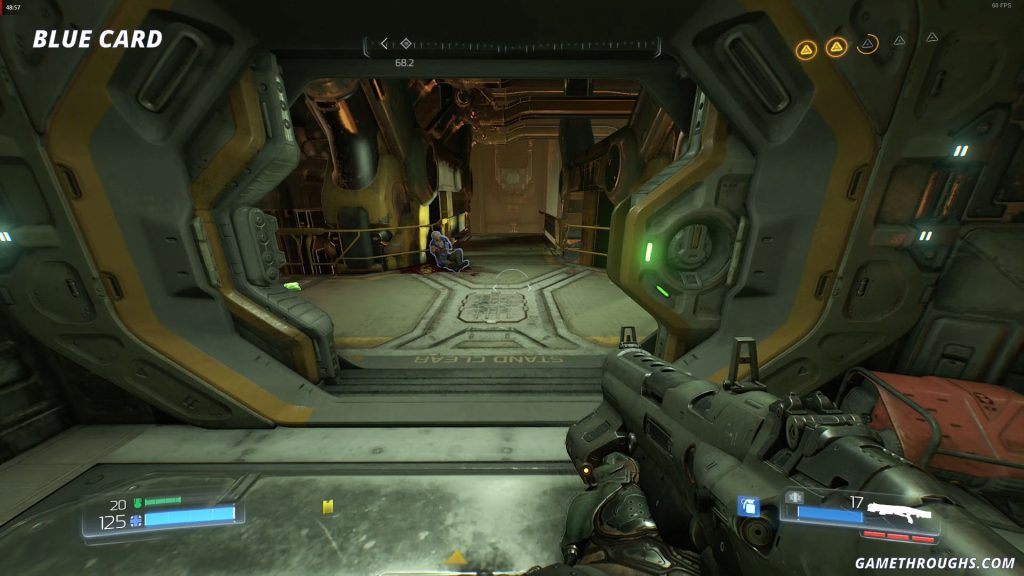
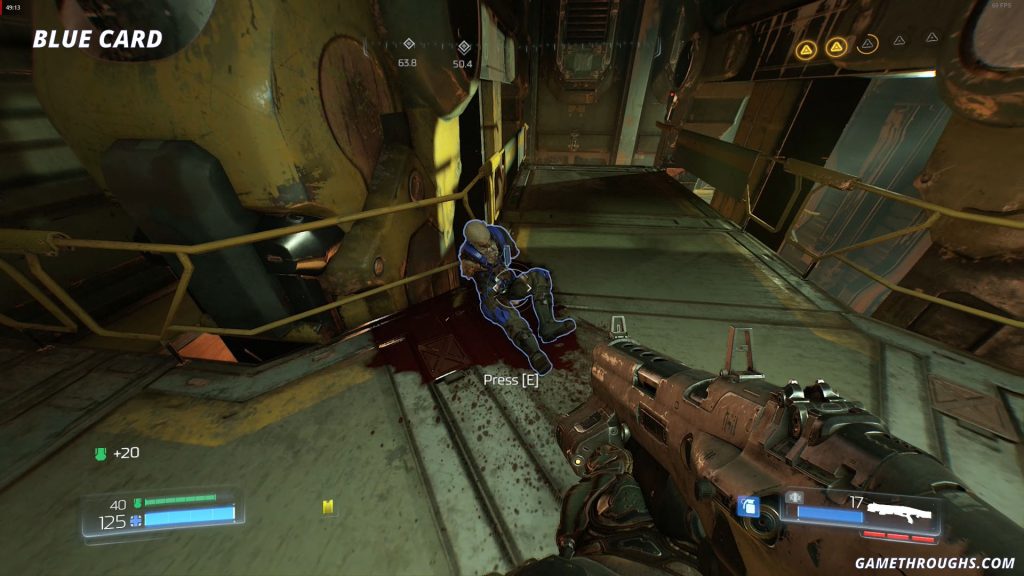
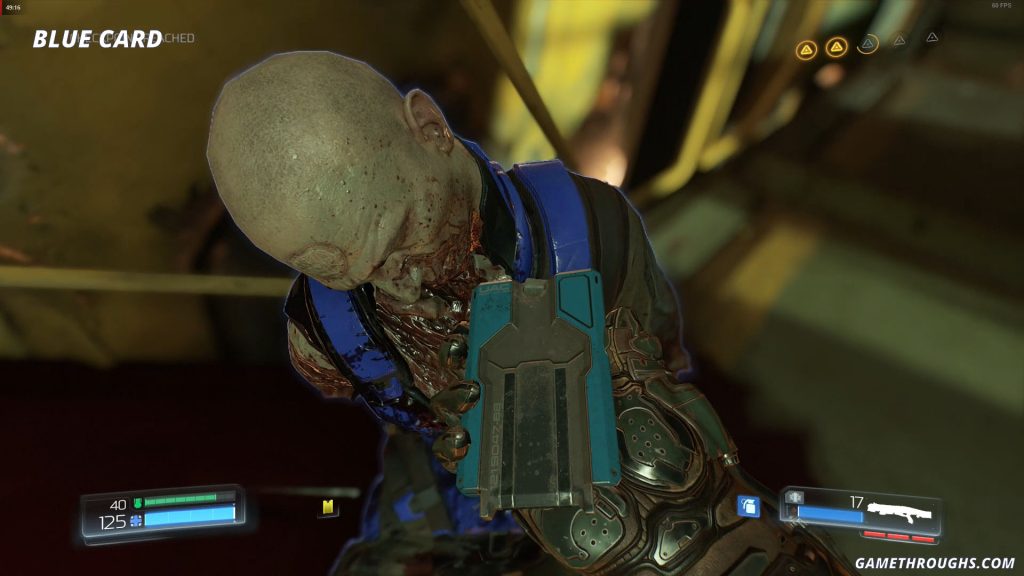
Blue Keycard
At the same location where the path splits left toward the Automap and right toward the door, head right. As soon as the door opens, you’ll find a soldier holding the Blue Keycard.
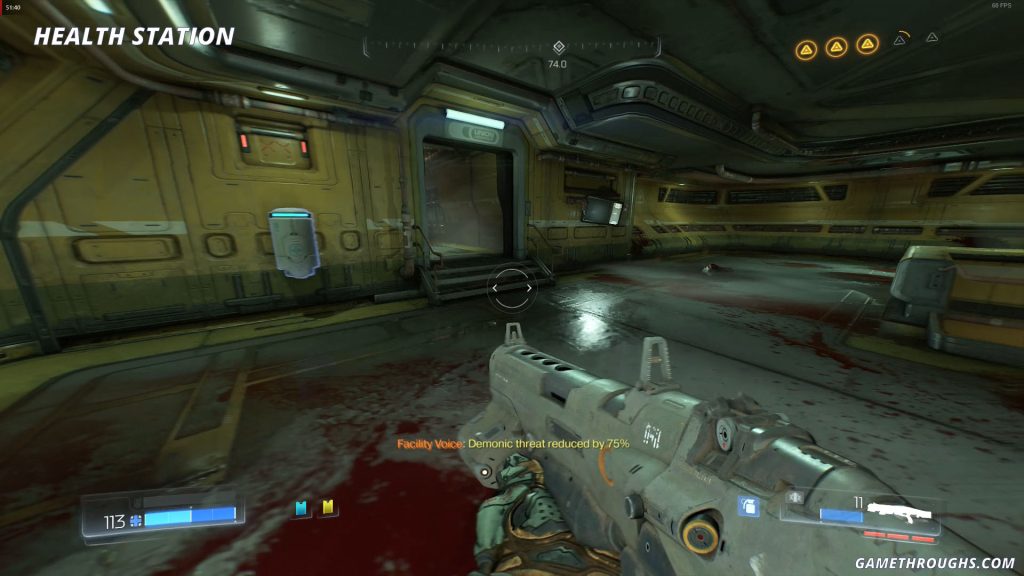
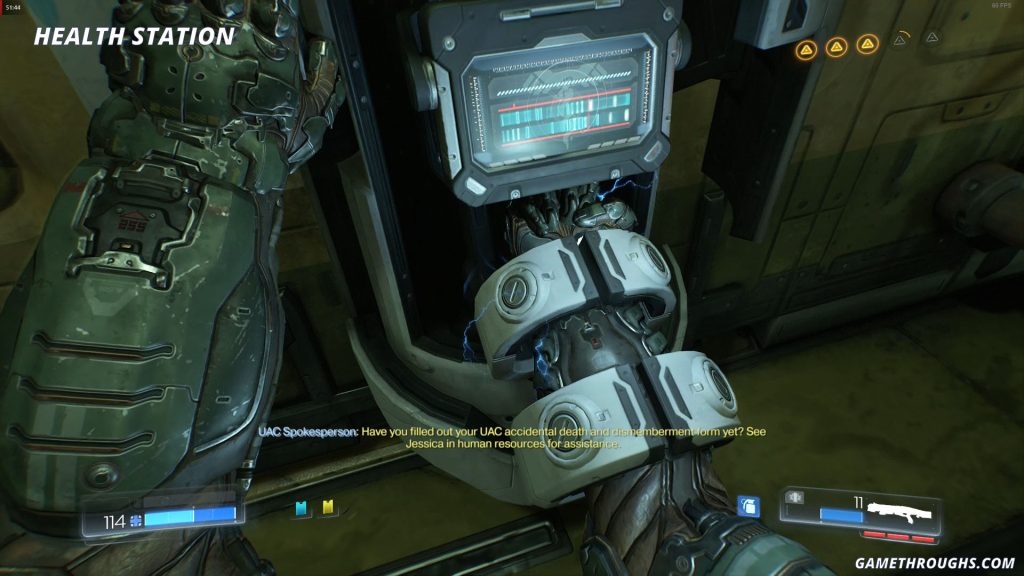
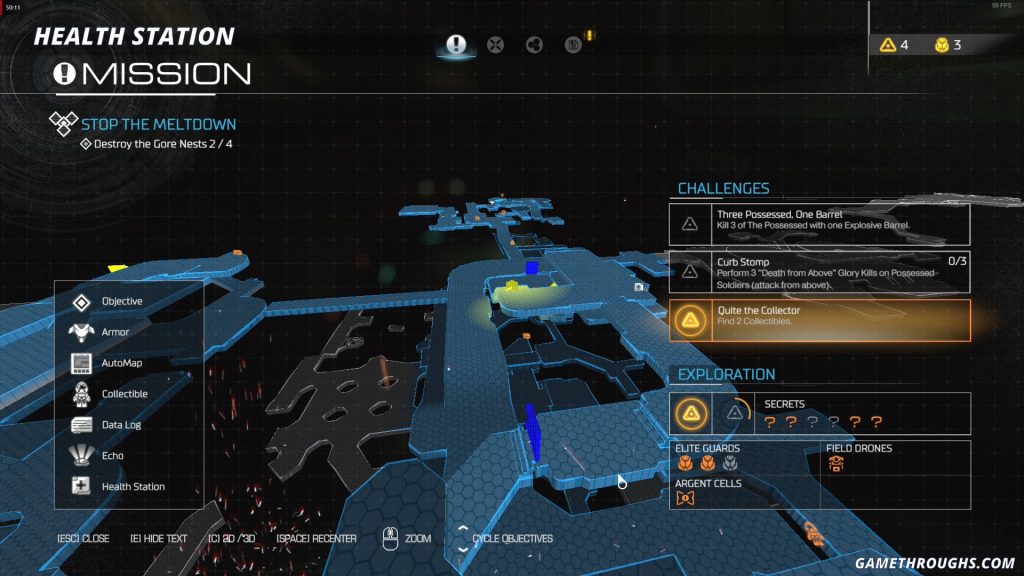
Health Station
After picking up the Blue Keycard, continue straight past the soldier and drop down to a lower platform. Proceed through the blue door and follow the narrow hallway to the next Gore Nest. Once you’ve cleared out all the demons, you’ll also find a Health Station in the same room.
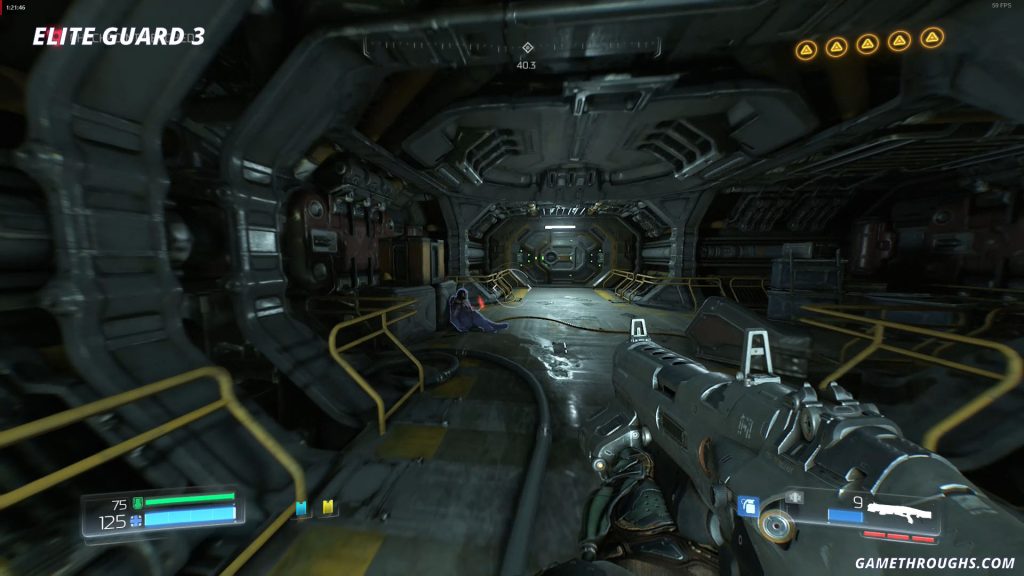
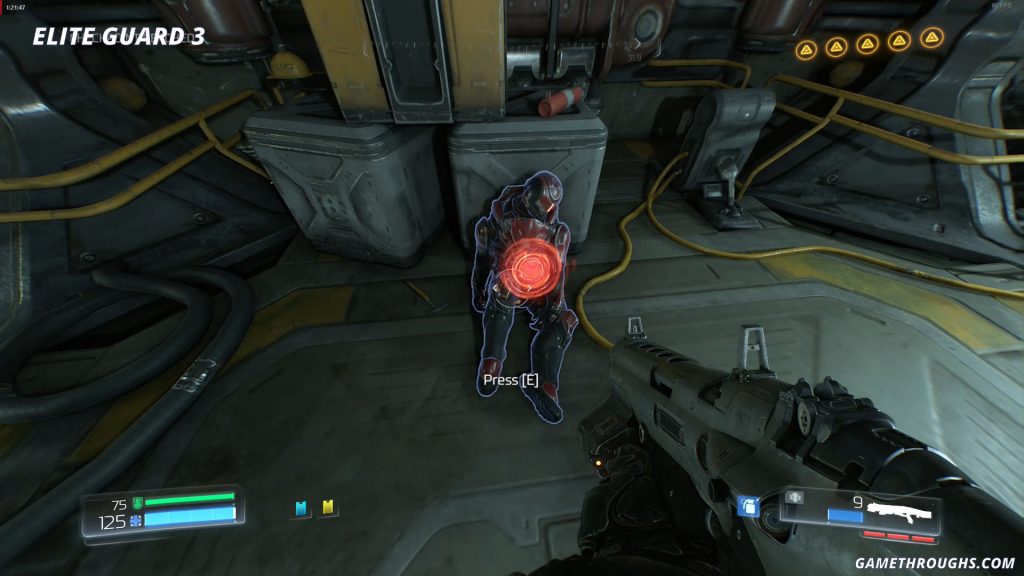
Health Station
After all the Gore Nests have been destroyed, the main door to the hangar will unlock. Head straight toward the end of the level, and after the large battle with demons, in the final hallway before the exit you’ll find an Elite Guard leaning against some crates on the left.

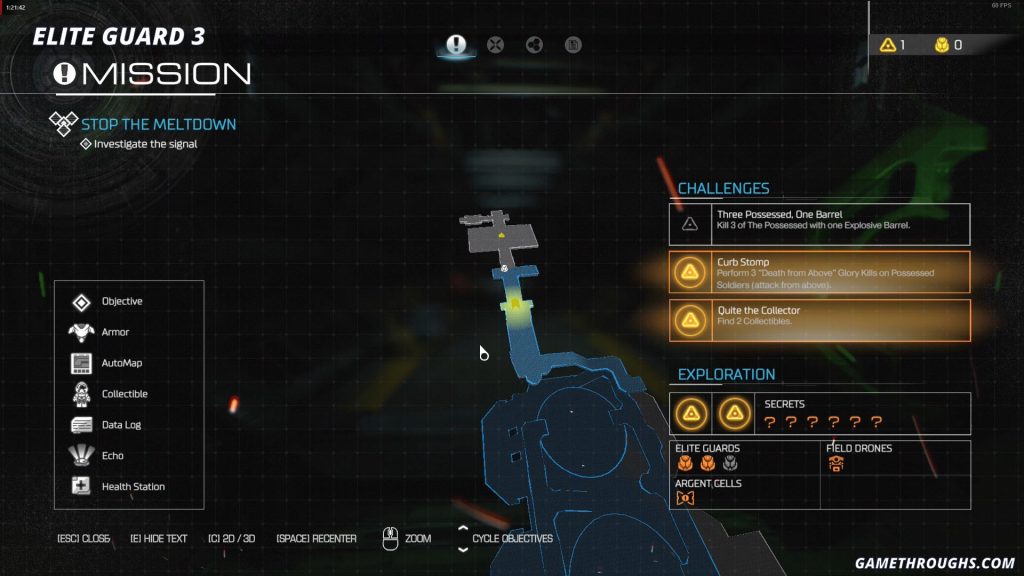
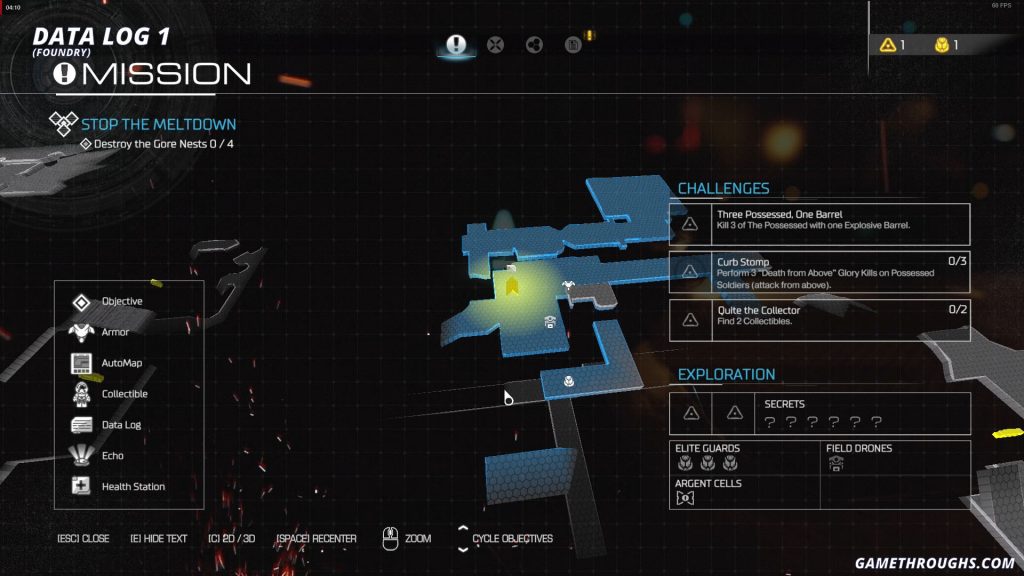
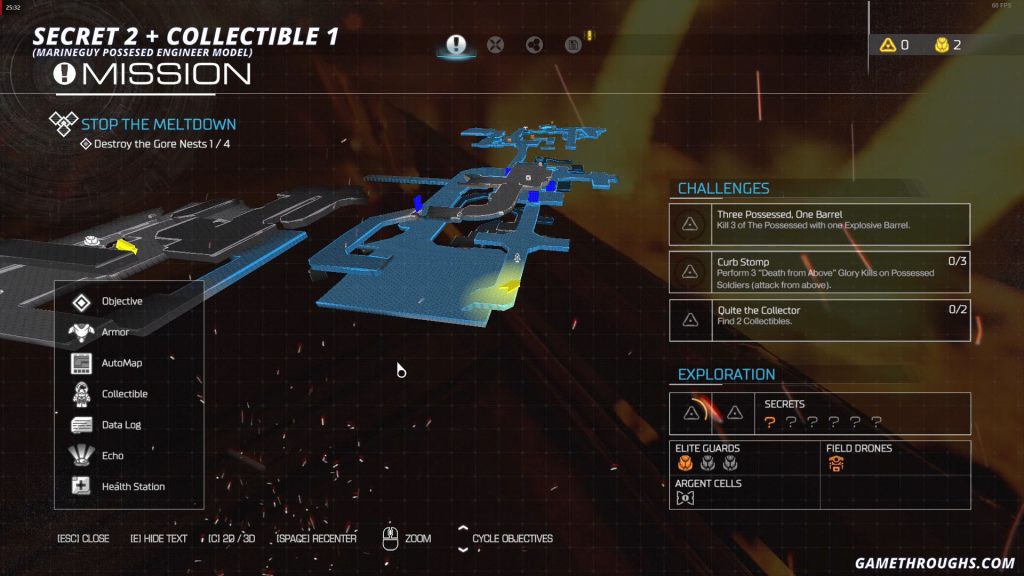
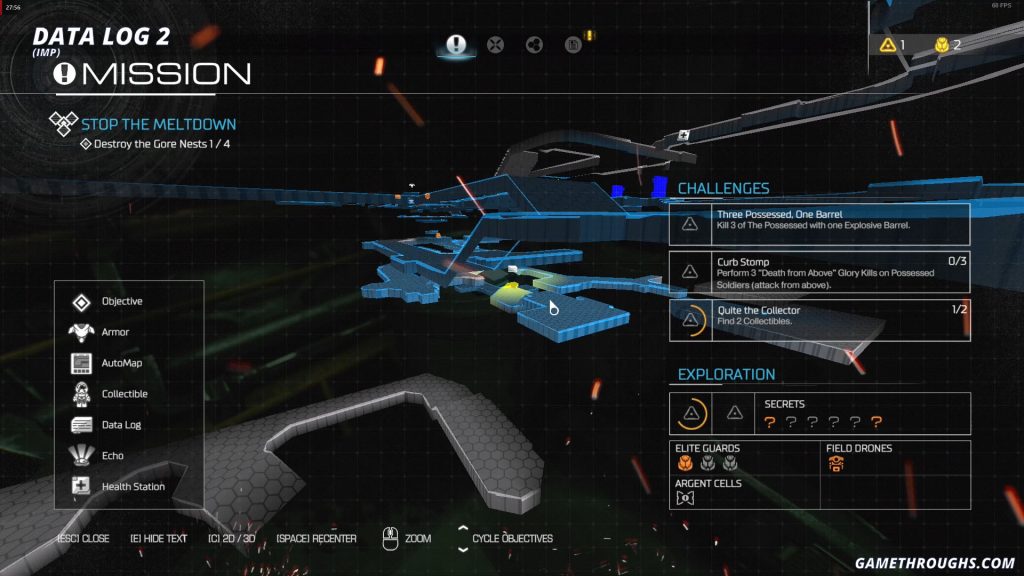
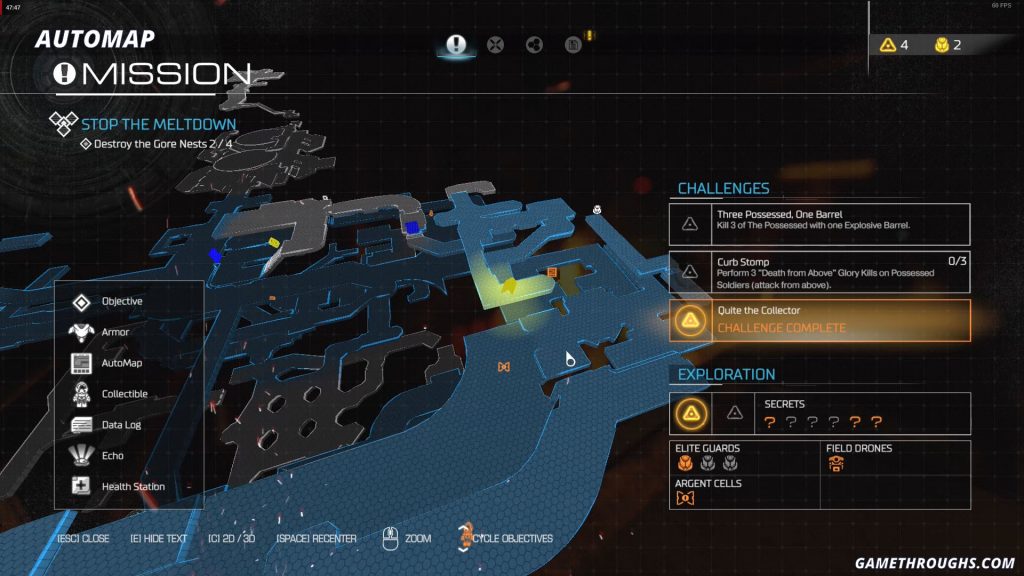
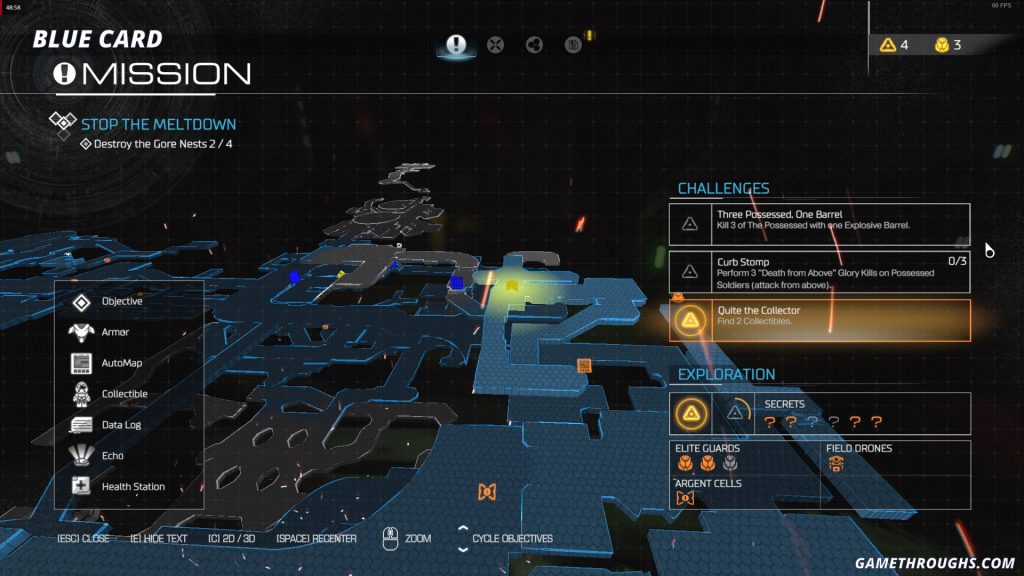
Challenges
Challenge 1
Three Possessed, One Barrel
Kill 3 of The Possessed with one Explosive Barrel
Challenge 2
Curb Stomp
Perform 3 “Death from Above” Glory Kills on Possessed Soldiers.
Challenge 3
Quite the Collector
Find 2 Collectibles.